

The Image Reveal extension adds scroll-triggered animations to Divi images. Choose from 12 reveal effects, including wipes, expanding shapes, sliding panels, and dissolving tiles.
Important Note:
- Image Reveal works only with Divi's Image module, not sections, rows, or other modules.
- When Reduced Motion is enabled on a visitor's device, the reveal becomes a quick fade-in and Ken Burns Drift is disabled.
How to Enable Image Reveal
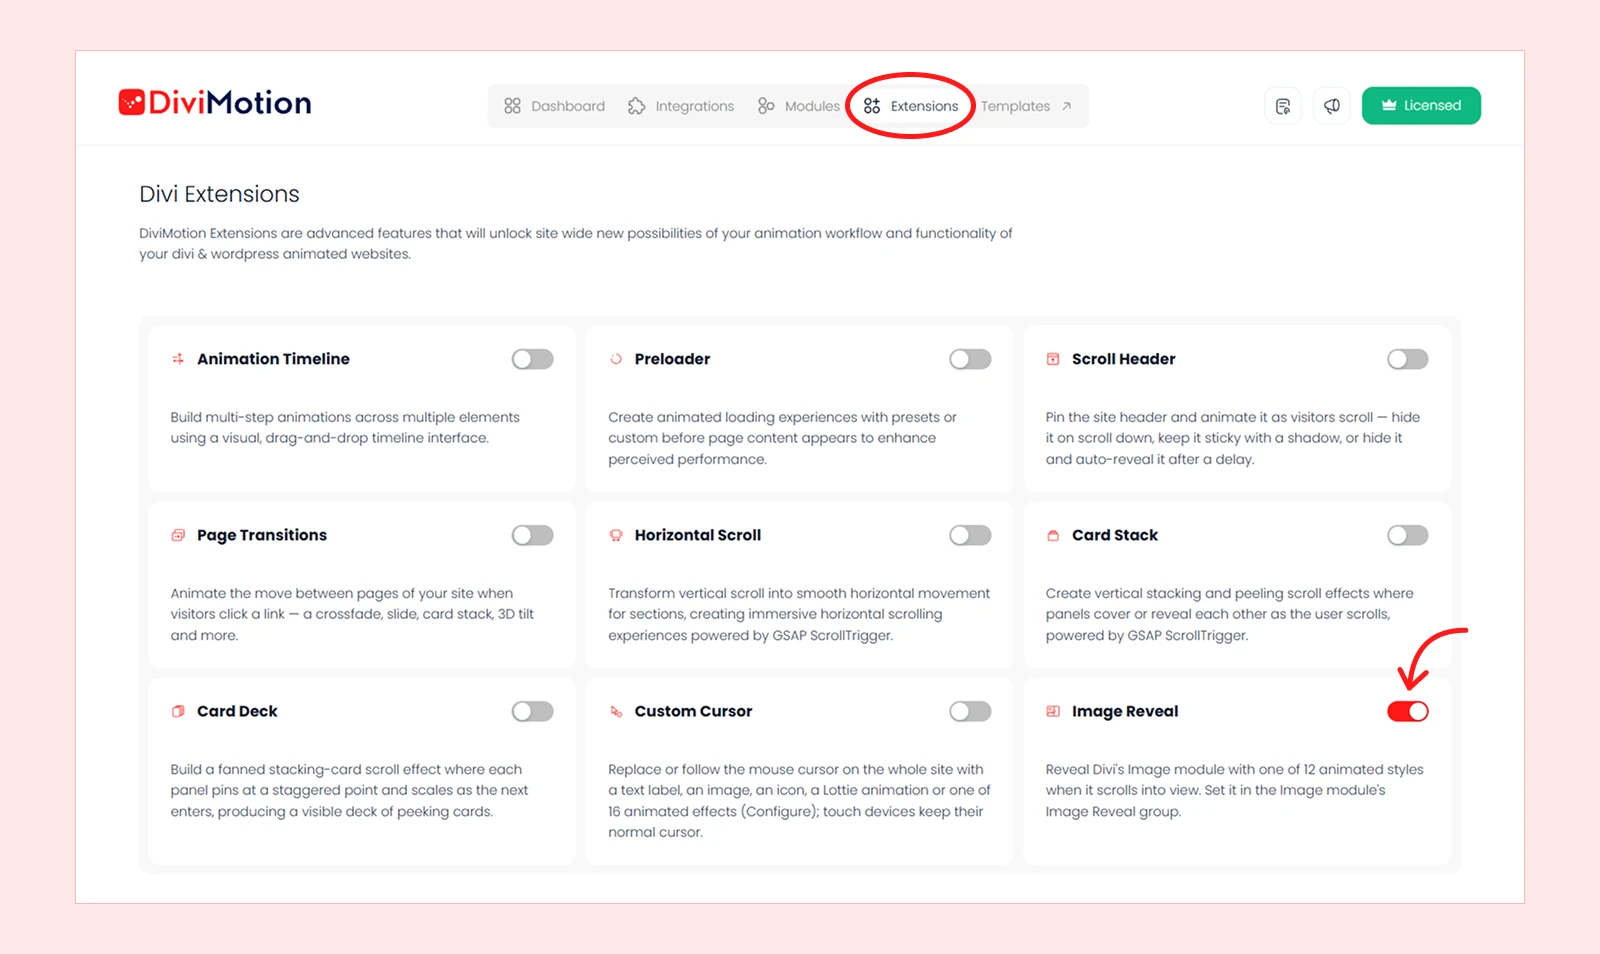
- Navigate to WordPress Dashboard > DiviMotion > Extensions and enable Image Reveal.
- Open a page in the Divi Visual Builder and add or select an Image module.
- Go to Design > Image Reveal and turn on Enable Reveal Animation.
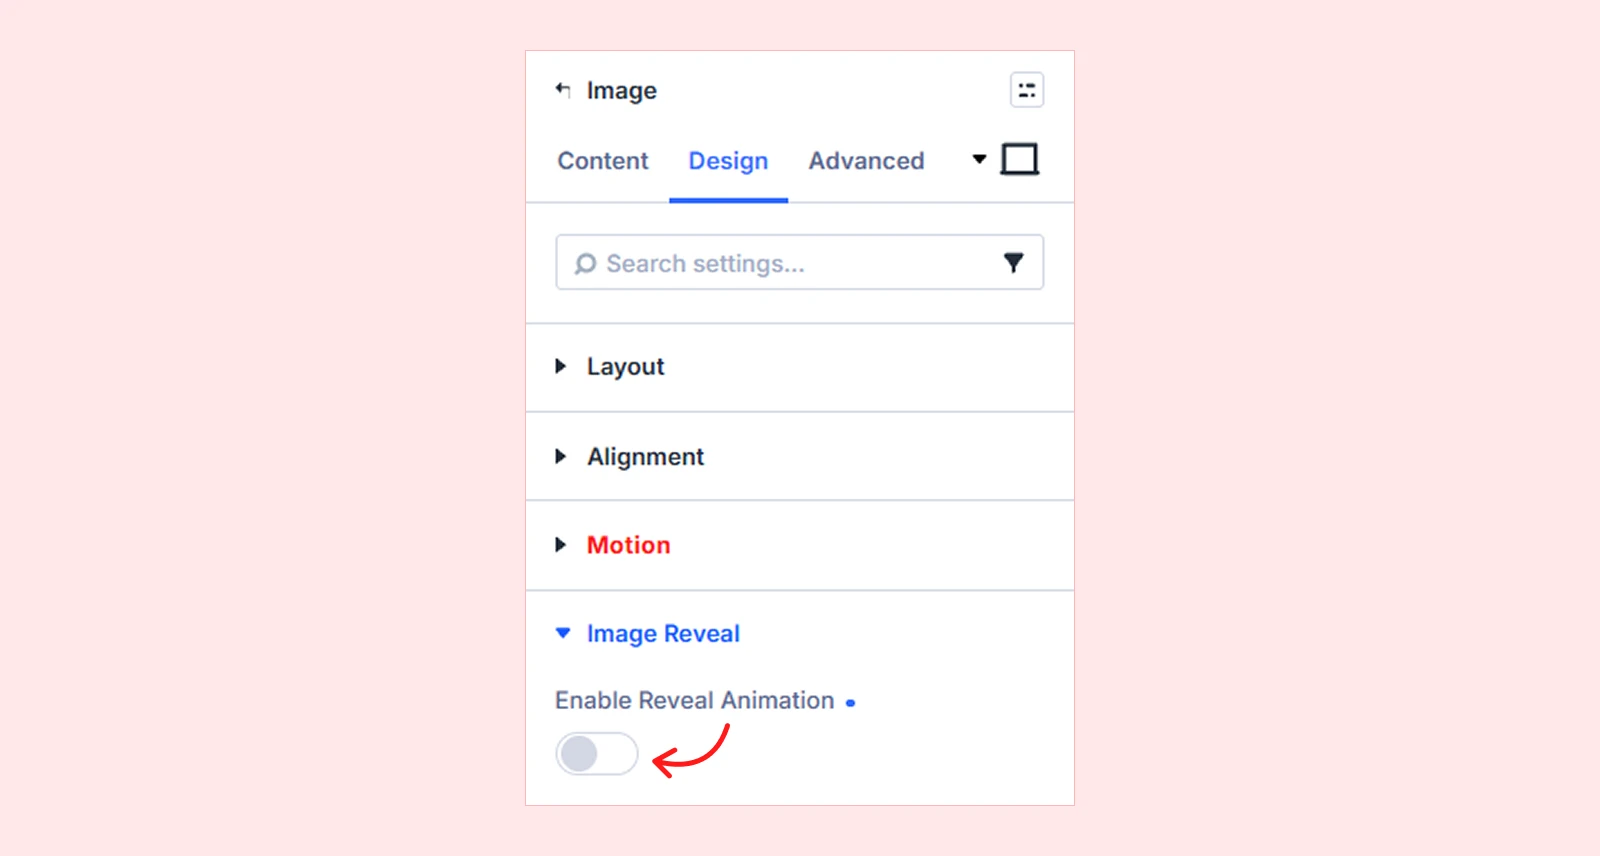
After enabling the setting, the Image Reveal options will appear, allowing you to choose a reveal style and customize its animation.
Image Reveal Settings
Open the Image module's Design > Image Reveal settings. Here is what each option does.
Enable Reveal Animation
The Enable Reveal Animation setting turns the image reveal effect on or off. It is off by default and every other setting stays hidden until this is turned on.
Reveal Styles
The Reveal Style setting controls how the image appears. Selecting a style automatically sets its preset animation duration. You can choose from 12 reveal styles:
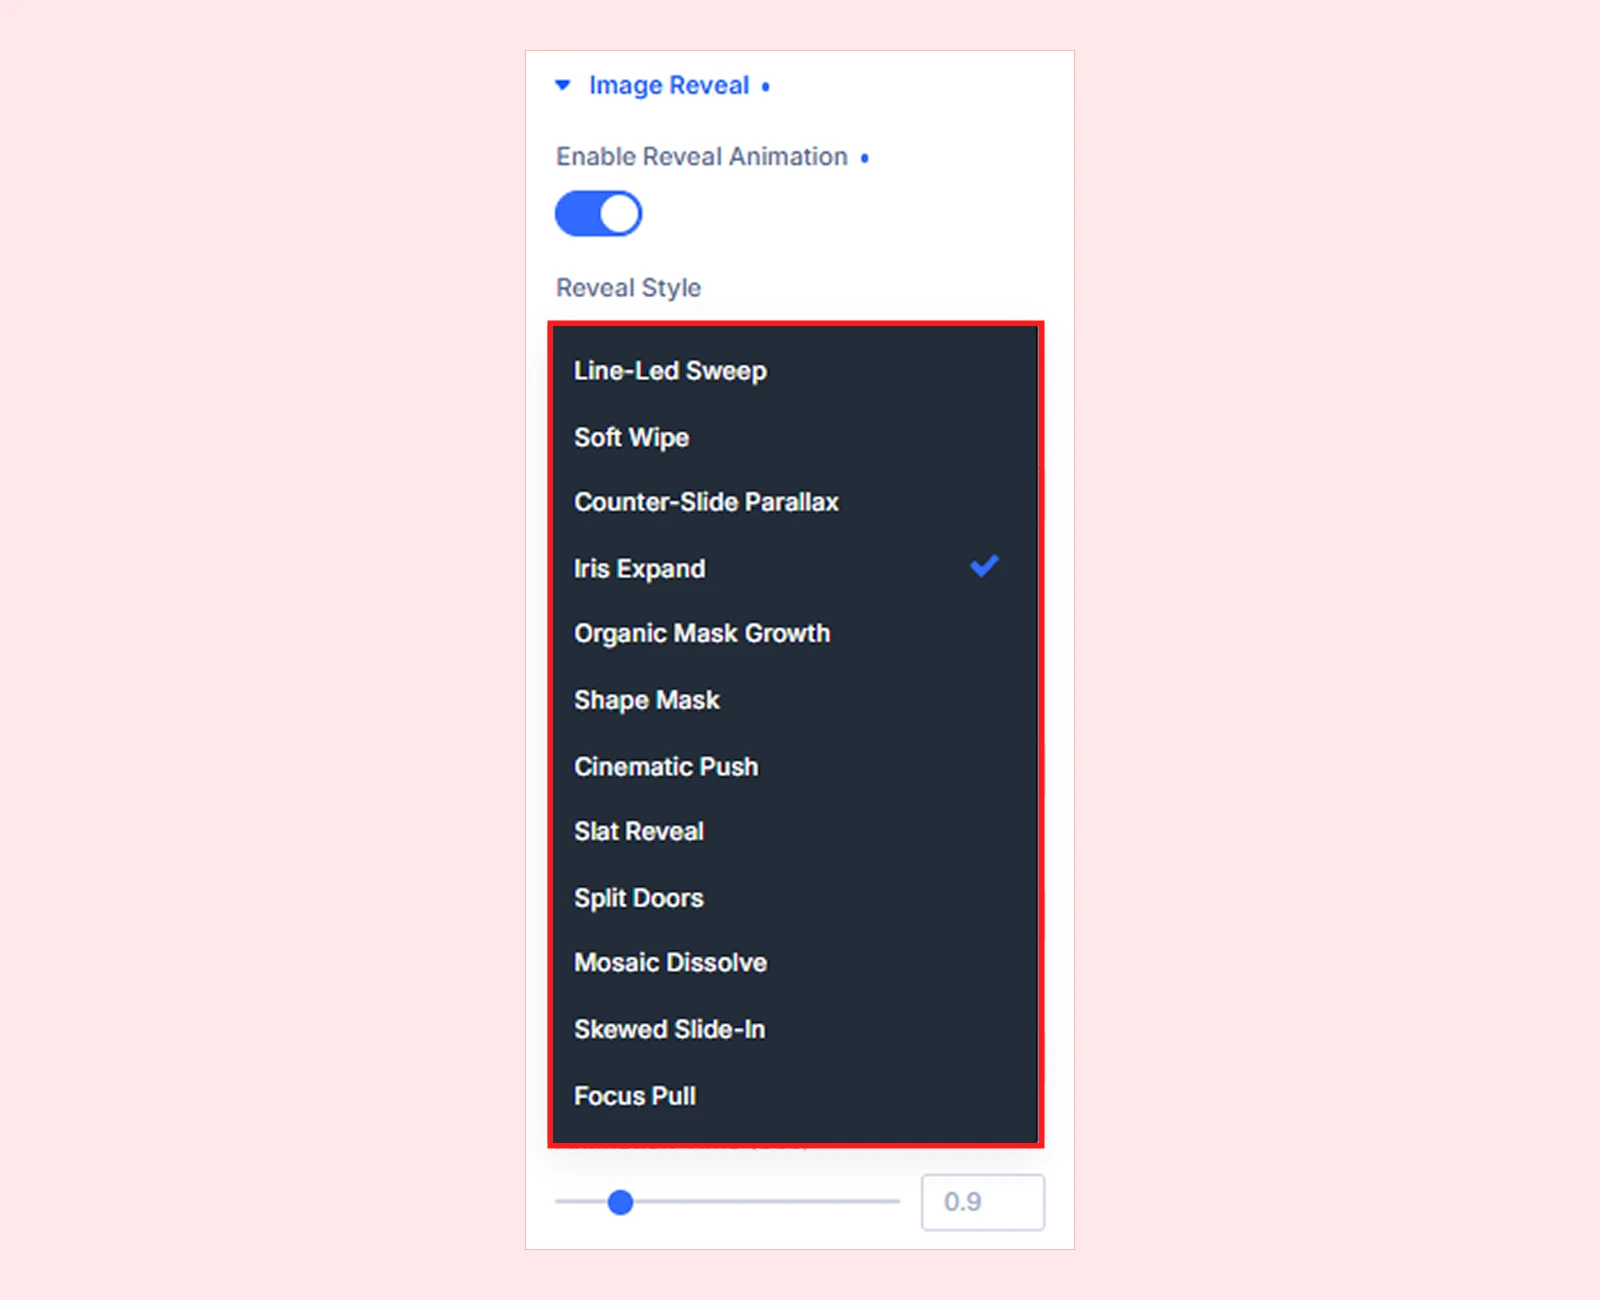
| Style | What It Does |
| Line-Led Sweep | A straight line moves across the image and shows the picture as it goes, like opening a curtain. |
| Soft Wipe | Same as Line-Led Sweep, but the line is soft and blurry, so the picture appears slowly and smoothly. |
| Counter-Slide Parallax | A line moves across the image to show the picture. At the same time, the picture moves the opposite way. |
| Iris Expand | A small circle grows bigger until the whole picture is showing, like an eye opening. |
| Organic Mask Growth | A soft, round blob grows bigger until the whole picture is showing, like a drop of ink spreading. |
| Shape Mask | A shape spins and grows bigger until it fills the whole picture. |
| Cinematic Push | The picture starts small and zoomed in. Then it grows to full size while it fades in. |
| Slat Reveal | The picture is cut into thin strips, like window blinds. The strips show up one by one. |
| Split Doors | Two blocks of color cover the picture. Then they slide apart like doors. |
| Mosaic Dissolve | Small squares of color cover the picture, like tiles. The squares fade away one by one. |
| Skewed Slide-In | The picture slides up at a slight tilt, then becomes straight. |
| Focus Pull | The picture starts blurry and slowly becomes clear, like a camera focusing. |
Direction
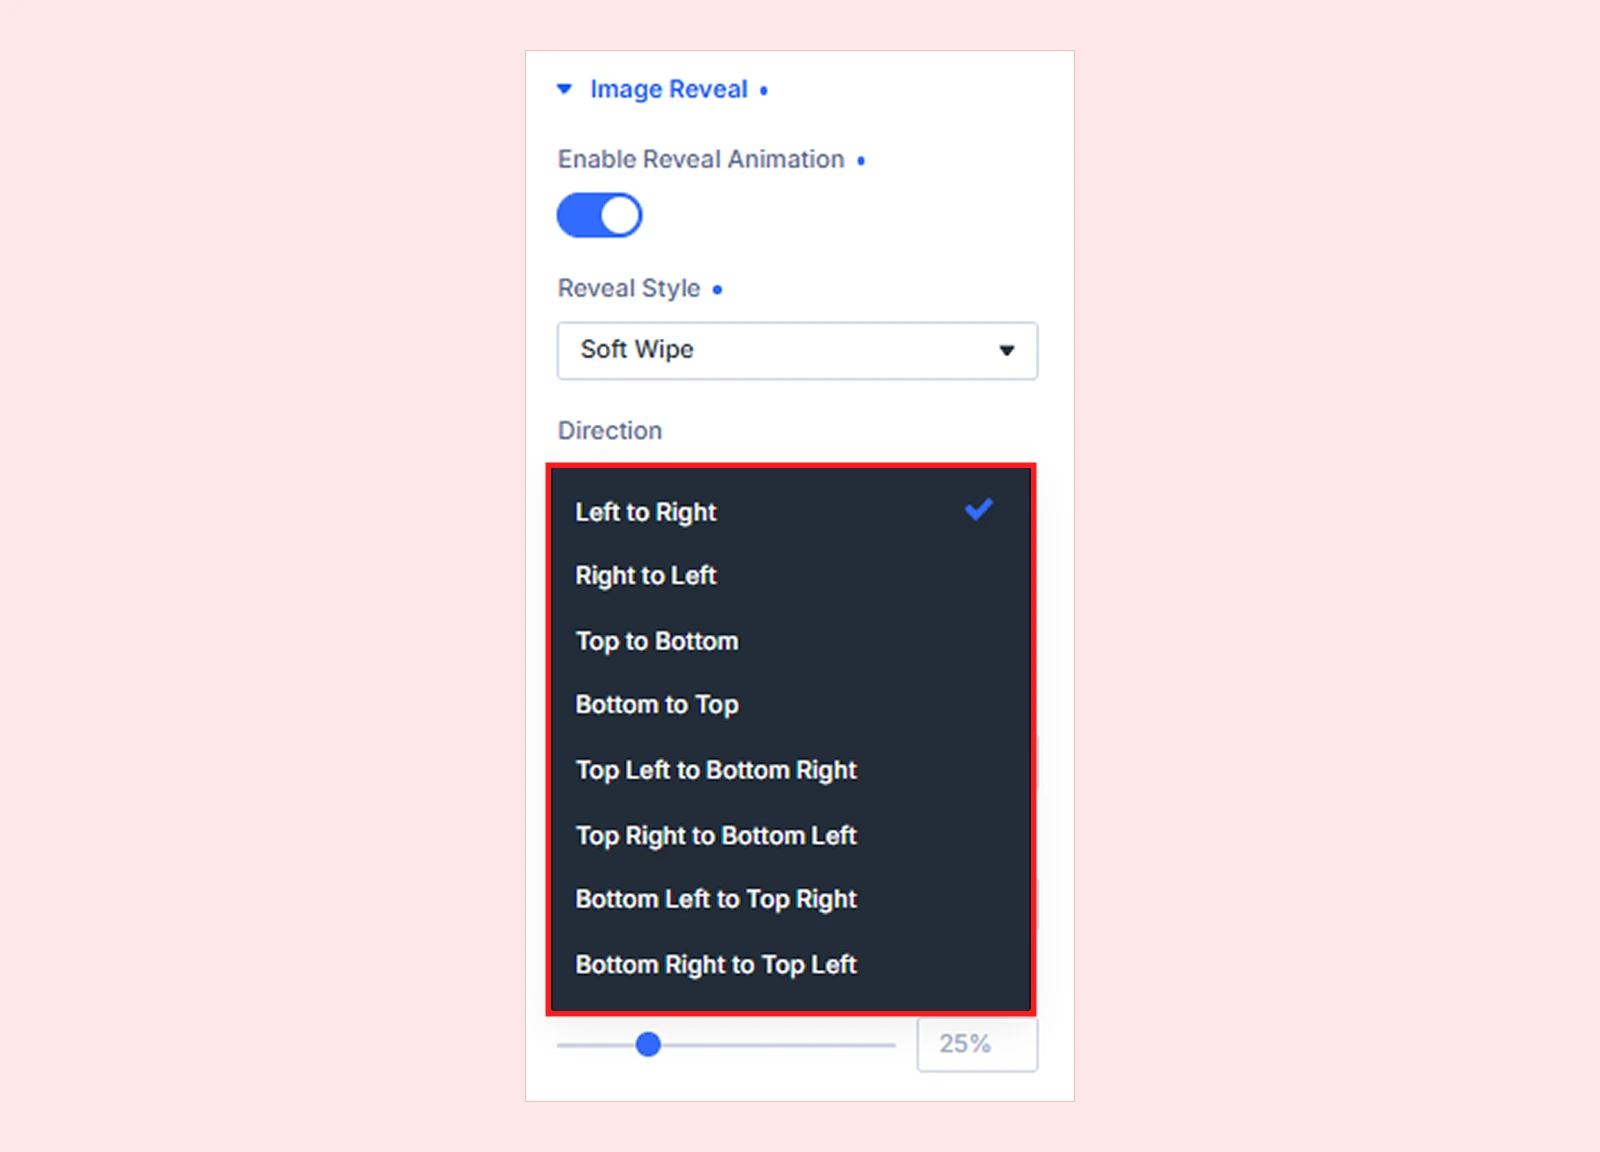
The Direction setting controls which way the reveal animation moves. Available options depend on the selected reveal style.
- Line-Led Sweep, Counter-Slide Parallax, and Cinematic Push: Choose Left to Right, Right to Left, Top to Bottom, or Bottom to Top.
- Soft Wipe: Choose a straight or diagonal direction, such as Top Left to Bottom Right.
- Split Doors: Choose whether the panels open sideways or vertically.
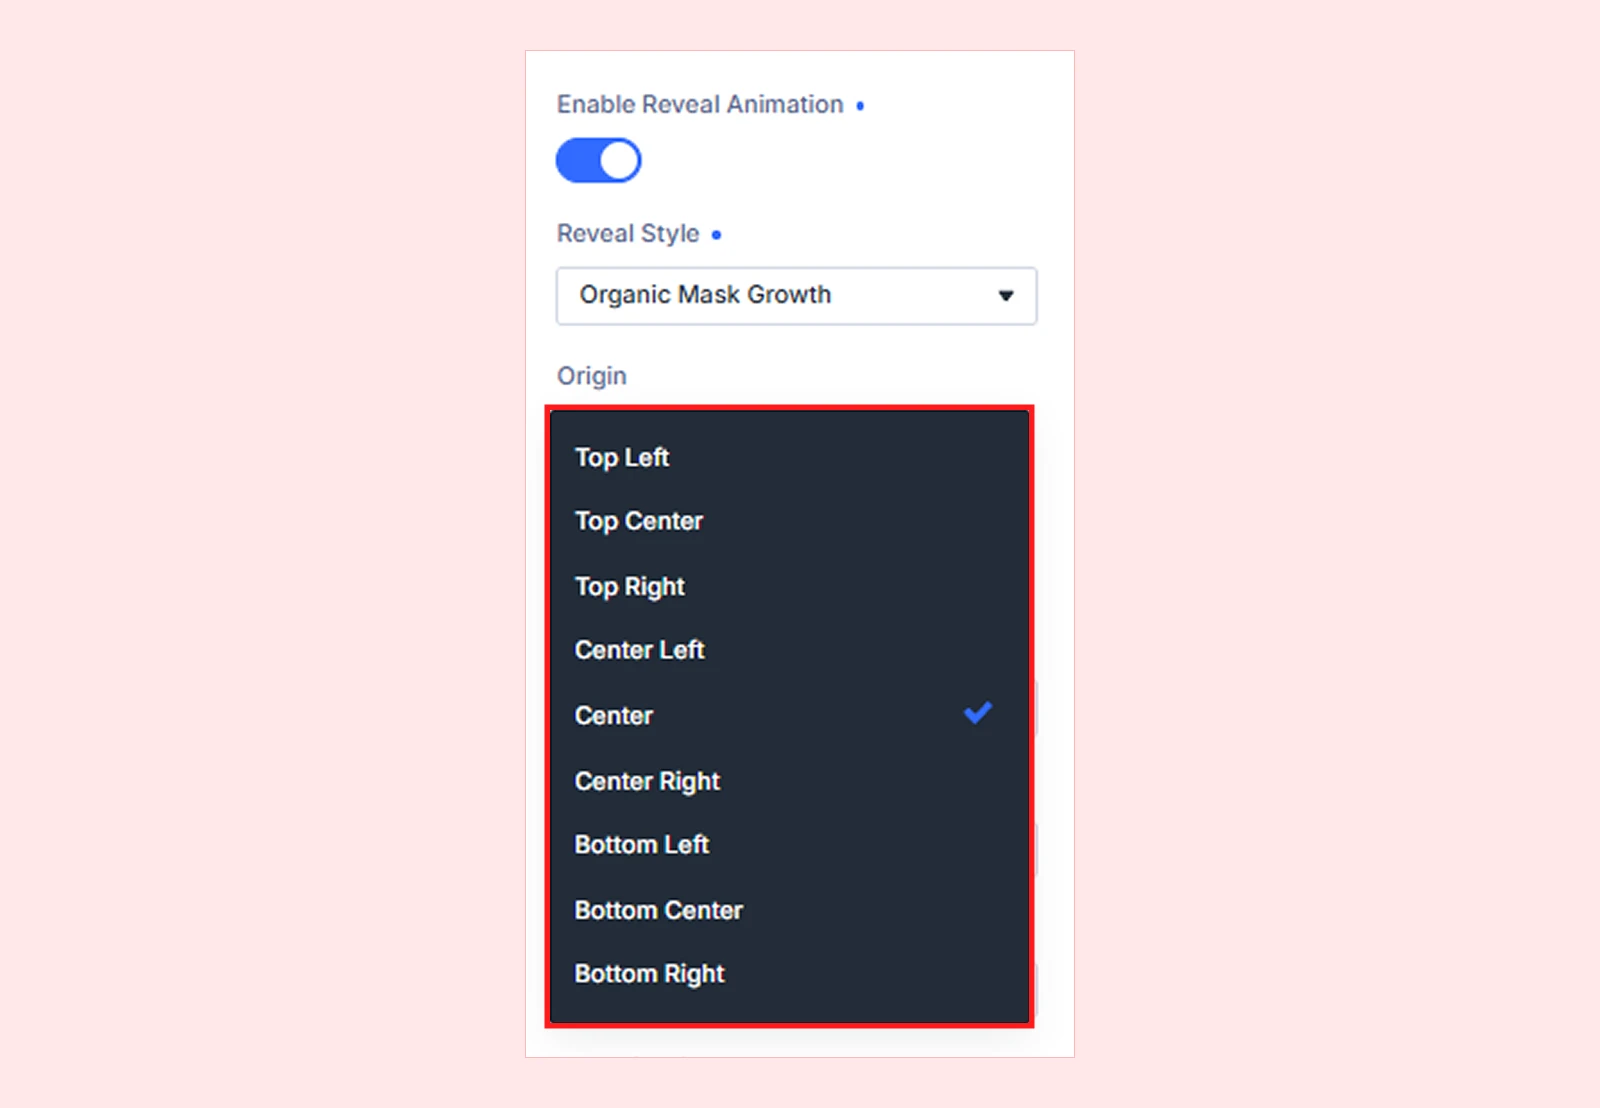
Origin
The Origin setting controls where the reveal animation begins. You can start it from the centre, an edge, or a corner of the image. (Available for Iris Expand, Organic Mask Growth, and Shape Mask.)
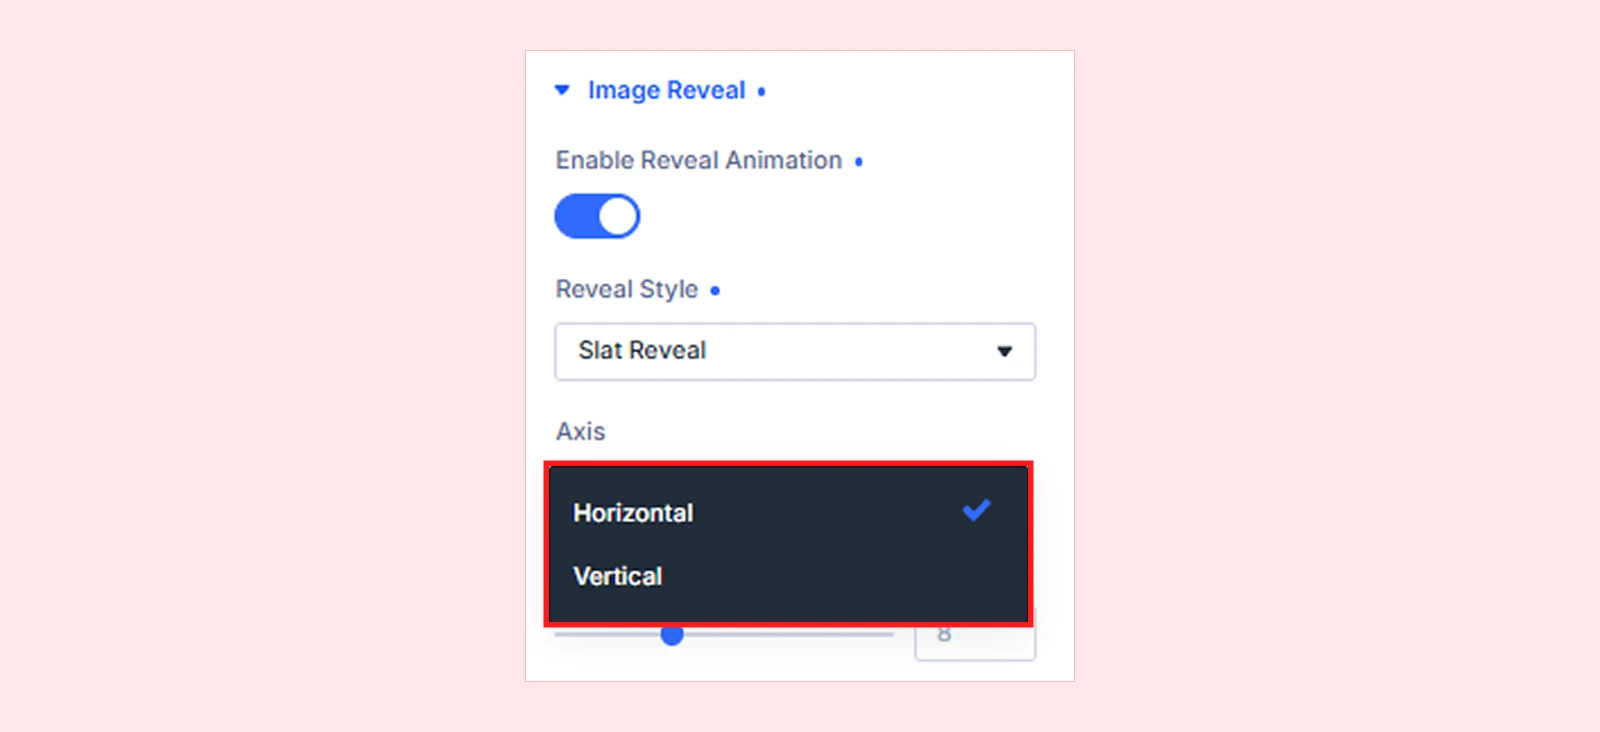
Axis
The Axis setting controls whether the image is divided into horizontal or vertical strips. (Available only for Slat Reveal.)
Slats
The Slats setting controls how many strips the image is divided into (2–20). Higher values create more, smaller strips. (Available only for Slat Reveal.)

Note: Slat Reveal requires an image. If no image is selected, DiviMotion uses Iris Expand instead.
Cell Stagger (ms)
The Cell Stagger (ms) setting controls the delay between each strip appearing (0–300ms). Lower values make the strips appear closer together, while higher values create a longer delay. (Available only for Slat Reveal.)

Example: Setting it to 80ms makes each strip start appearing 0.08 seconds after the previous one.
Zoom
The Zoom setting controls how enlarged the image appears at the beginning of the reveal before returning to its normal size. (Available for Counter-Slide Parallax, Cinematic Push, and Skewed Slide-In.)
- Range: 1.01–2
- Maximum for Counter-Slide Parallax: 1.4

Lower values create a subtle zoom, while higher values make it more noticeable.
Skew
The Skew setting controls how much the image tilts as it slides into view (−45° to 45°). Higher positive or negative values create a stronger tilt. (Available only for Skewed Slide-In.) Setting it to 0° will remove the tilt.

Frame Inset
The Frame Inset setting controls how small the image's frame appears at the beginning before expanding to full size (0–45%). Higher values create a smaller starting frame. (Available only for Cinematic Push.)

Edge Softness
The Edge Softness setting controls how soft the edges of the reveal appear. (Available for Organic Mask Growth and Soft Wipe.)
- Organic Mask Growth: Controls the softness of the growing shape's edge. Lower values create softer edges.
- Soft Wipe: Controls how soft or blurry the moving wipe edge appears.

Element Order
The Element Order setting controls which tiles disappear first during the reveal. You can choose Start, End, Center, Edges, or Random. (Available only for Mosaic Dissolve.)

Example: Choosing Random makes the tiles disappear in a random order instead of following a fixed pattern.
Tile Columns
The Tile Columns setting controls how many columns of tiles appear across the image (4–16). Higher values create more, smaller tiles. The number of rows adjusts automatically based on the image's shape. (Available only for Mosaic Dissolve.)

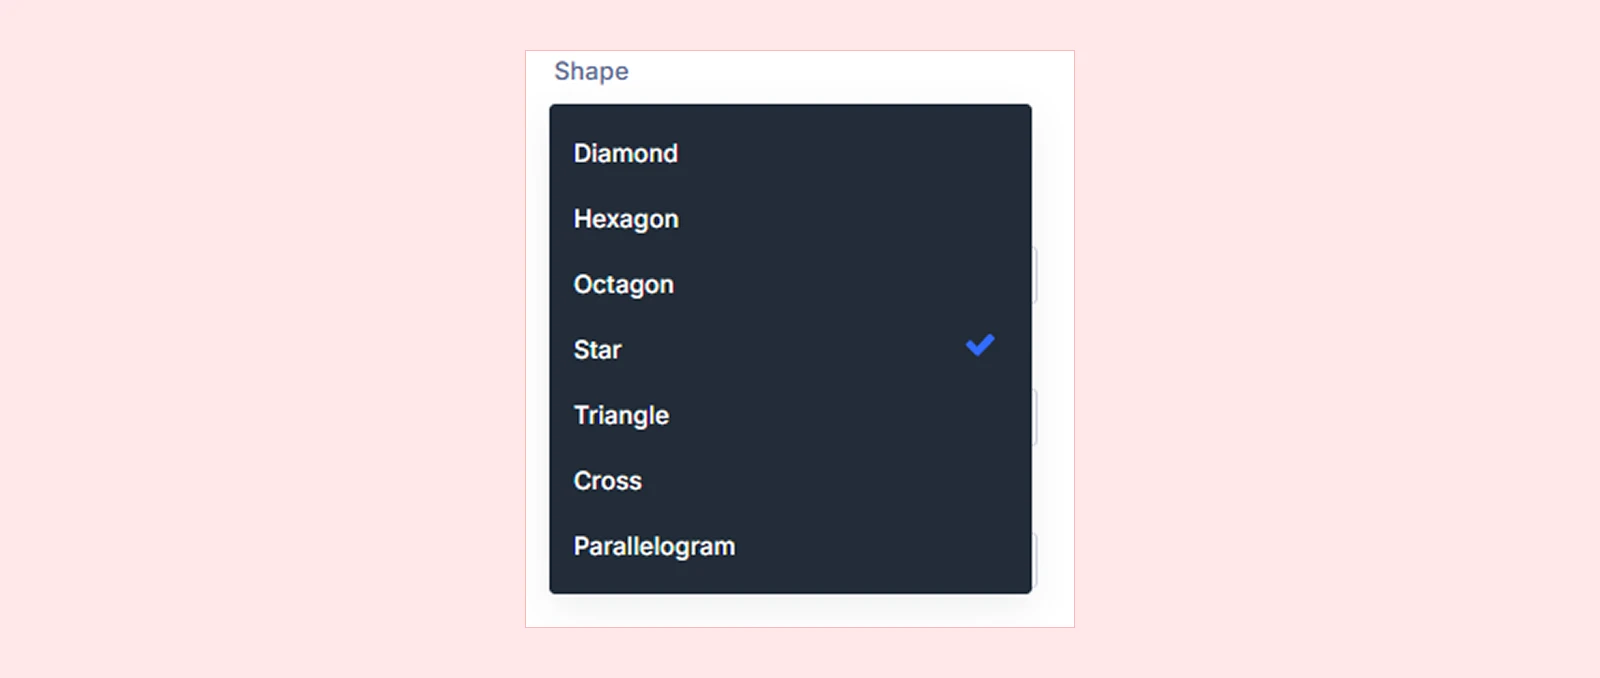
Shape
The Shape setting lets you choose which shape expands to reveal the image. Available options are Diamond, Hexagon, Octagon, Star, Triangle, Cross, and Parallelogram. (Available only for Shape Mask.)
Shape Spin
The Shape Spin setting controls how much the selected shape rotates as it grows (0–180°). Higher values create more rotation during the reveal. (Available only for Shape Mask.) Setting it to 0° reveals the image without rotating the shape.

Blurred Image
The Blurred Image setting shows a blurred version of the image before the reveal starts.

For Split Doors and Mosaic Dissolve, enabling this option makes the panels or tiles blur the image underneath rather than cover it with a solid colour.
Reveal Color
The Reveal Color setting controls the colour shown before the image appears. It also sets the colour of the covering panels in Split Doors and tiles in Mosaic Dissolve. (Appears only when Blurred Image is disabled.)

Tip: Choose a colour that matches your website's background for a more consistent look.
Animate In Viewport (%)
The Animate In Viewport (%) setting controls how much of the image must be visible before the reveal starts.
- Range: 1–100%

Example: Setting it to 25% starts the animation when 25% of the image's height becomes visible on the screen.
Delay (Sec)
The Delay (Sec) setting controls how long DiviMotion waits before starting the reveal animation.
- Range: 0–5 seconds

Setting it to 0 starts the animation as soon as the image reaches the selected viewport position.
Animation Time (Sec)
The Animation Time (Sec) setting controls how long the reveal animation takes to complete.
- Range: 0.1–5 seconds
- Each reveal style has its own preset duration.

Lower values make the animation faster, while higher values make it slower.
Tip: For prominent images, such as hero images, try a duration of 1.2 seconds or less to keep the reveal responsive.
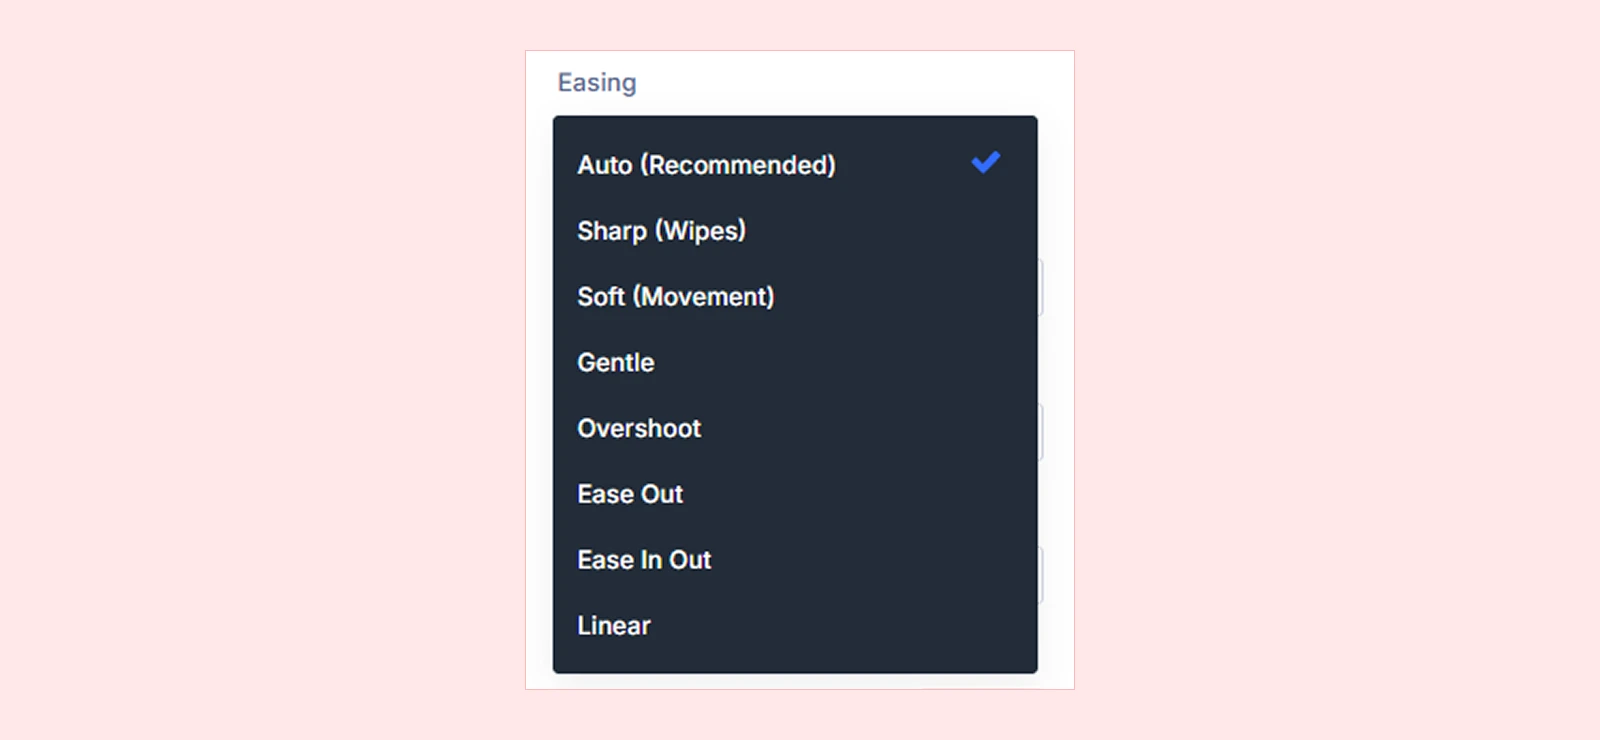
Easing
The Easing setting controls how the animation speeds up and slows down. Available options include Sharp, Soft, Gentle, Overshoot, Ease Out, Ease In Out, and Linear.
Inner Zoom
The Inner Zoom setting controls how much the image is zoomed in at the beginning of the reveal. The image gradually zooms out as the animation plays. (Available for Soft Wipe, Shape Mask, Split Doors, Mosaic Dissolve, and Focus Pull.)
Range: 1–2

Higher values create a stronger zoom effect, while lower values keep the movement more subtle.
Parallax Counter-Move
The Parallax Counter-Move setting moves the image in the opposite direction of the wipe, creating a sense of depth. (Available only for Soft Wipe.)
- Range: 0–60%

Setting it to 0% disables the movement, while higher values make the movement more noticeable.
Blur Start
The Blur Start setting makes the image appear blurry at first and gradually become clear during the reveal. (Available for Soft Wipe, Shape Mask, Split Doors, Mosaic Dissolve, and Focus Pull.)
Range: 0–30px
- 0px: No additional blur.
- Higher values: A stronger blur at the beginning.

Grayscale Start
The Grayscale Start setting makes the image start in black and white and gradually restores its original colours. (Available for Soft Wipe, Shape Mask, Split Doors, Mosaic Dissolve, and Focus Pull.)
Range: 0–100%
- 0%: Starts with the original colours.
- 100%: Starts completely in black and white.

Brightness Start
The Brightness Start setting controls how bright or dark the image looks at the beginning of the reveal. It gradually returns to normal brightness as the animation plays. (Available for Soft Wipe, Shape Mask, Split Doors, Mosaic Dissolve, and Focus Pull.)
Range: 20–200%
- Below 100%: Starts darker.
- 100%: Uses normal brightness.
- Above 100%: Starts brighter.

Ken Burns Drift
The Ken Burns Drift setting adds a slow, continuous zoom and movement after the reveal animation finishes. It works with all reveal styles and is disabled by default.
When enabled, two additional settings appear:
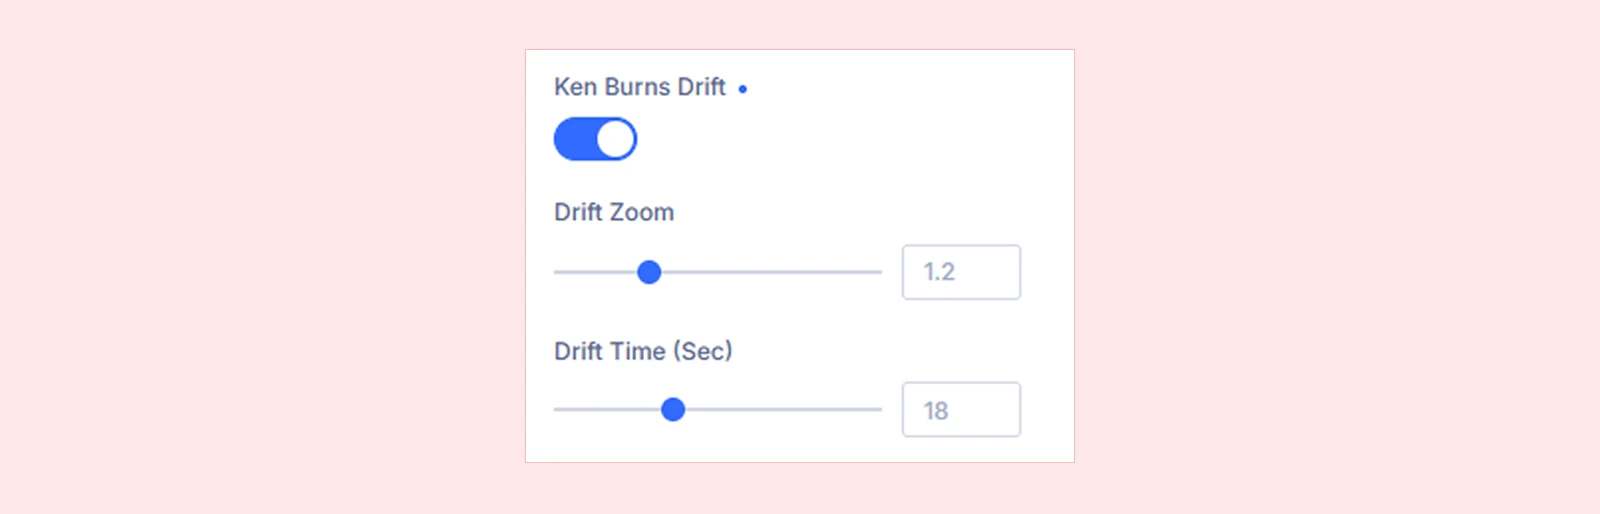
- Drift Zoom: Controls how much the image zooms (1.05–1.6). Lower values create a subtle zoom, while higher values make it more noticeable.
- Drift Time (Sec): Controls how long each movement takes (6–40 seconds). Lower values make the movement faster, while higher values make it slower.
Tip: Use Ken Burns Drift to add subtle movement to large images, such as hero banners.
Reveal on Scroll Back
The Reveal on Scroll Back setting lets the animation play again when visitors scroll up past the image and then return to it.

Disable On
The Disable On setting lets you disable the image reveal animation on specific devices. Available options are:
- Desktop
- Tablet
- Phone
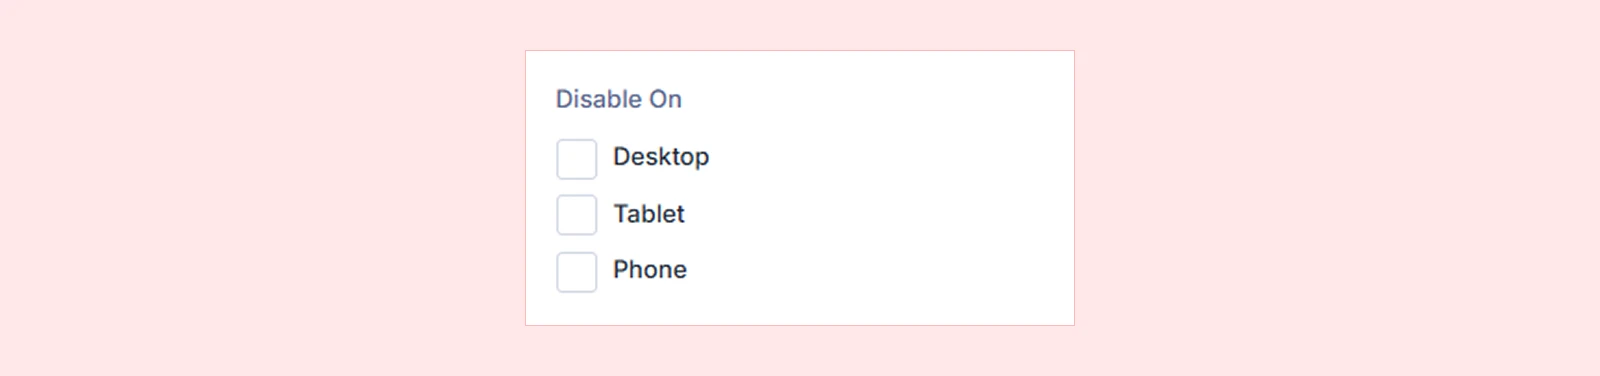
When disabled on a device, the image appears normally without the reveal animation.
What's Next?
Save your changes and preview the page on the frontend. Scroll to the image to check the reveal animation, then adjust the style, timing, or effects as needed.


