

The Animation Timeline is a visual editor docked at the bottom of the Divi Visual Builder. It gives you a canvas for arranging, timing, and previewing multiple animation actions side by side — so you can see your entire animation sequence at a glance and fine-tune each action’s position and duration by dragging, not typing.
How to Enable Animation Timeline
To use the timeline feature, you'll need to activate the extension:
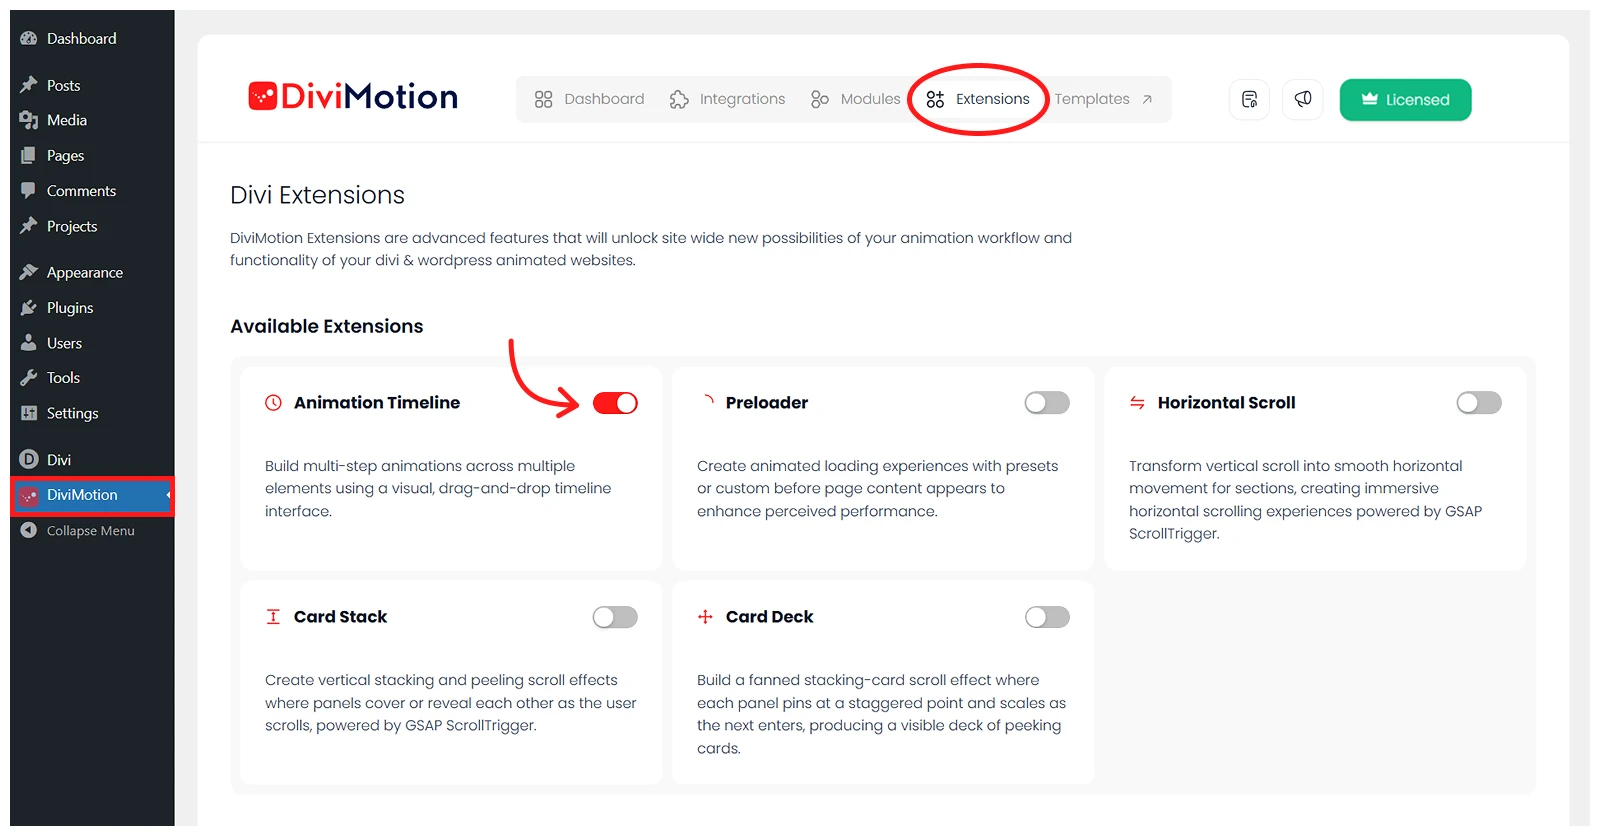
- Go to your WordPress Dashboard.
- Navigate to DiviMotion → Extensions.
- Toggle on Animation Timeline.
Once enabled, the Timeline panel will appear automatically at the bottom of the Divi Visual Builder the next time you open or refresh the builder.
Opening and Closing the Timeline
After enabling the extension, the Timeline can be opened in two ways:
- From the toolbar: Click the Timeline button in the Visual Builder toolbar to open or close it at any time.
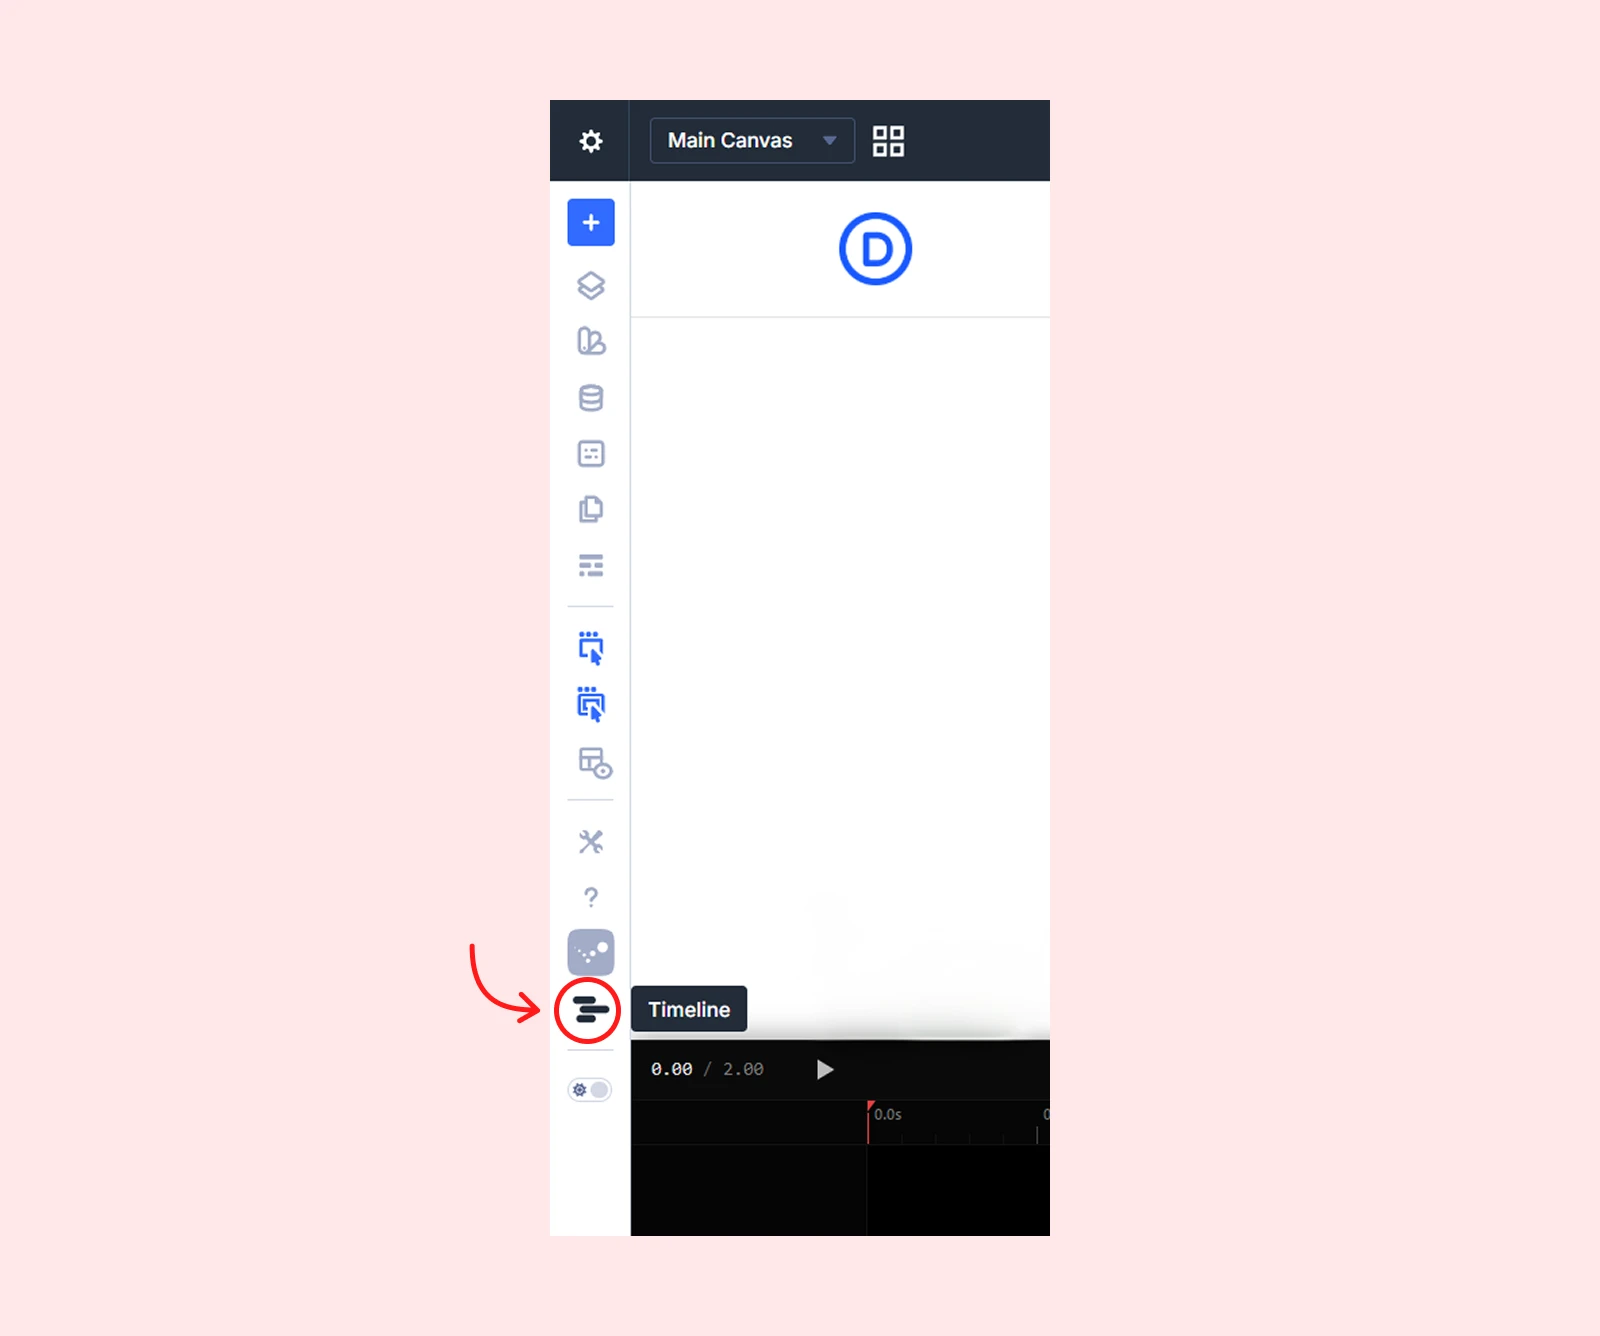
- Automatically: When you expand any interaction in the DiviMotion panel, the timeline auto-opens by default (unless you previously closed it using the X button).
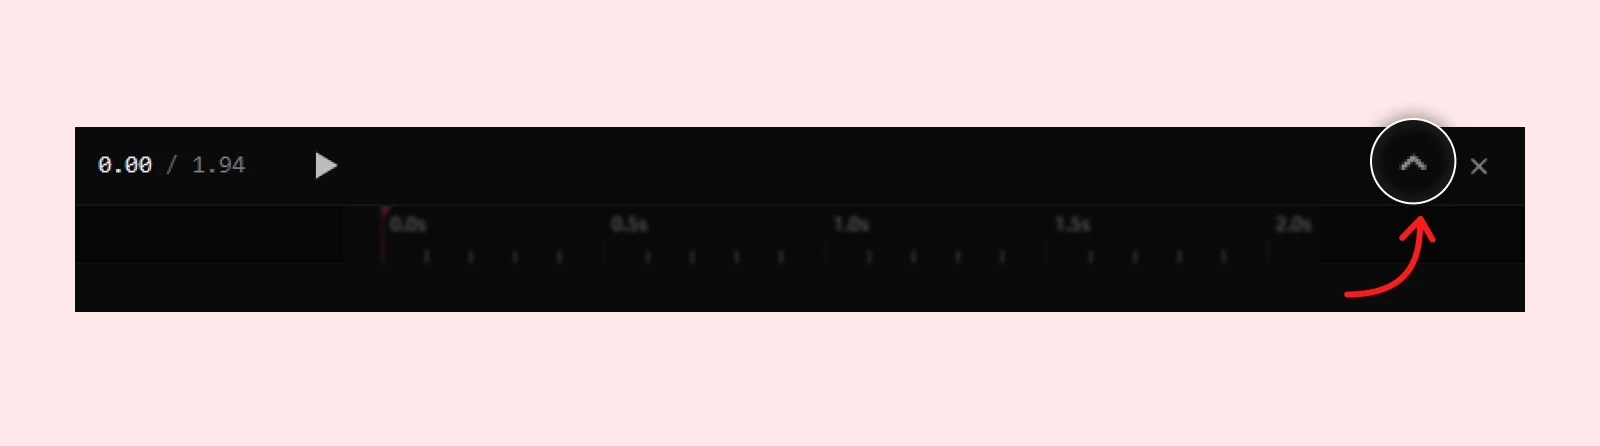
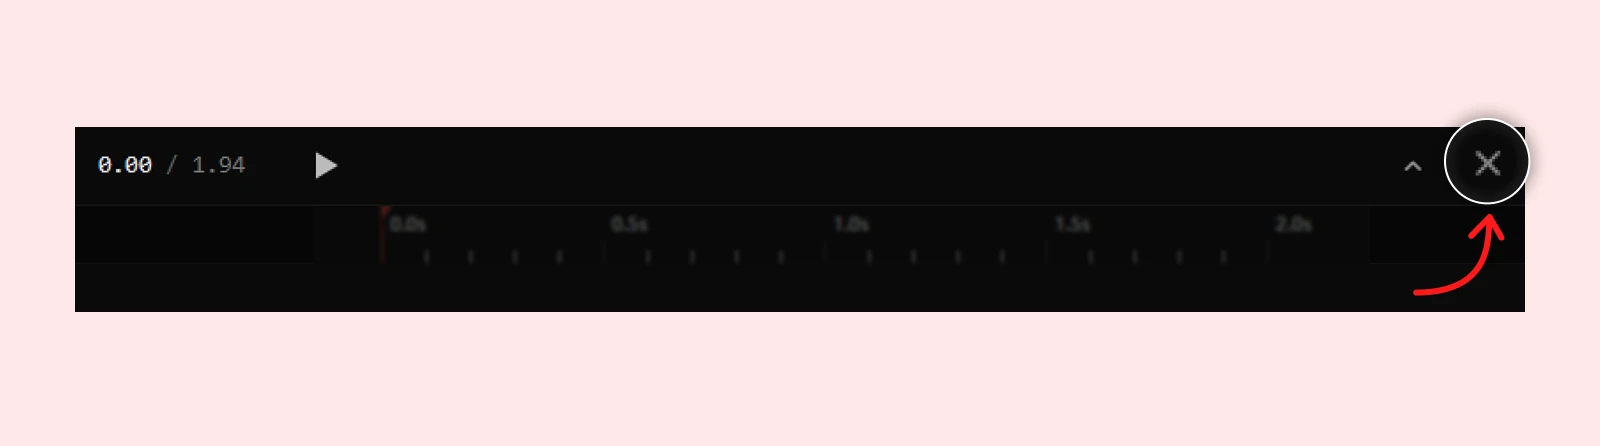
To close or minimise the Timeline:
- Collapse button (chevron): Minimises the panel to header-only view. The Timeline remains active and will still auto-open for future interactions.
- Close button (X): Closes the panel entirely. This also disables auto-open for future interactions until you manually re-open it.
Timeline Interface Overview
The Timeline panel includes four key sections, each serving a distinct role in the animation workflow.
1. Header Bar
The header bar runs across the top of the Timeline panel. It contains playback controls and panel management options.
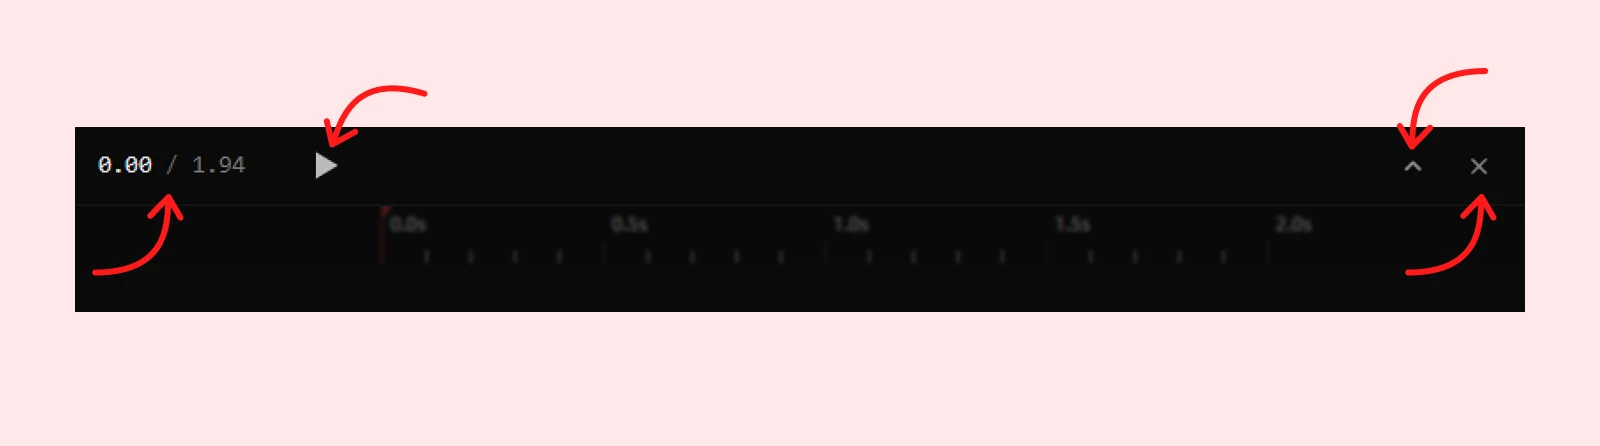
| Element | What It Does |
| Time Display | Shows current playback position and total duration in the format: current time / total duration (e.g. 1.25 / 3.00) |
| Play / Pause | Starts or pauses real-time animation playback. Switches automatically between icons during playback |
| Collapse / Expand | Minimises the timeline to header-only view, freeing up canvas space without closing the panel or disabling auto-open |
| Close (X) | Closes the timeline panel entirely and disables auto-open for future interactions until manually re-opened |
| Pro tip: Double-click anywhere on the header bar to quickly toggle between collapsed and expanded view without reaching for the chevron button. |
2. Action List
It lists all actions belonging to the currently selected interaction as a vertical list. Each row represents one action and provides controls for managing it.
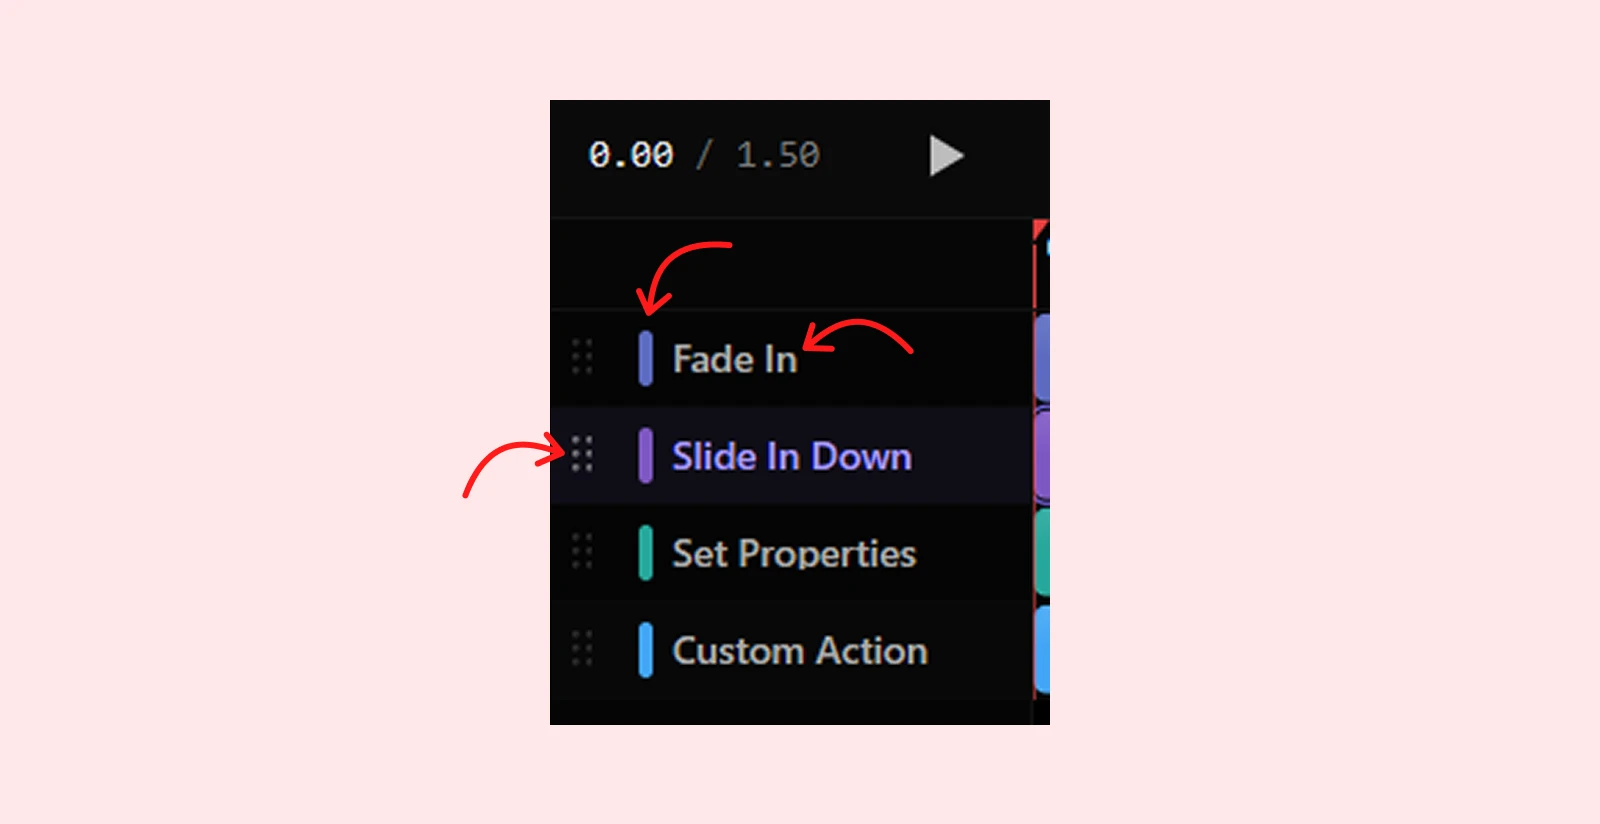
| Element | What It Shows |
| Drag Handle | Six-dot icon on the left of each row. Click and hold to reorder actions by dragging up or down |
| Colour Indicator | A coloured dot or bar that matches the colour of the corresponding action bar in the tracks area |
| Action Name | Auto-generated from the action method and properties (e.g. “Fade In”, “Slide Up”), or a custom name you assign |
| Pro tip: Double-click any action name in the sidebar to rename it inline. Descriptive names like “Fade In Headline” or “Slide In Card” make complex timelines much easier to navigate. |
3. Ruler
The ruler runs horizontally across the top of the tracks area. It displays the animation’s time axis and serves as the primary scrubbing control.
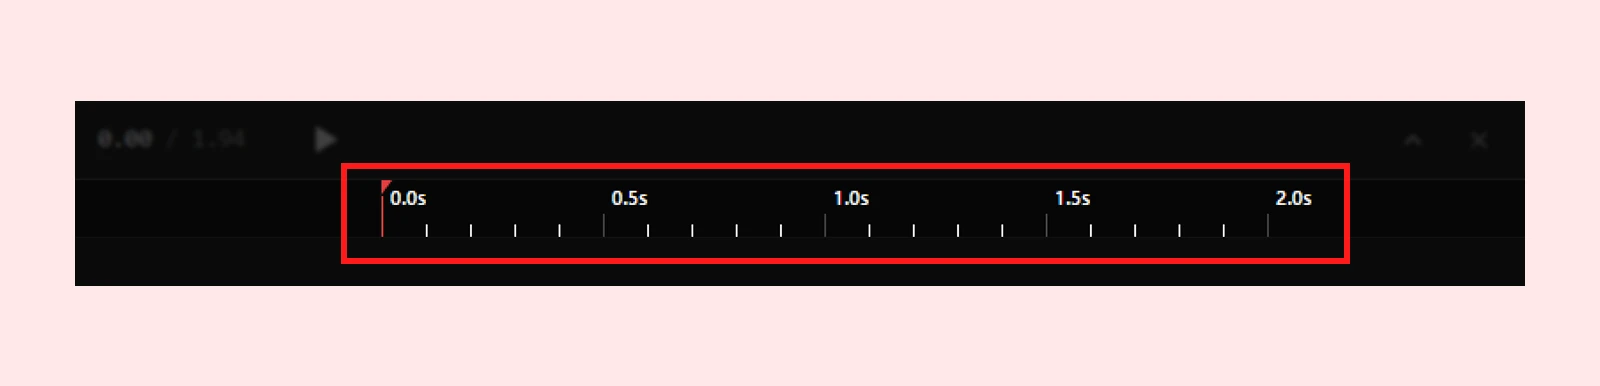
| Element | What It Does |
| Major ticks | Appear every 0.5 seconds with time labels (0.0s, 0.5s, 1.0s, etc.) for quick time reference |
| Minor ticks | Appear every 0.1 seconds between major ticks for fine-grained alignment |
| Playhead | A red triangle pointer showing the current playback or scrub position. Click anywhere on the ruler to jump to that time |
| Pro tip: Click and drag on the ruler to scrub through your animation at any speed. This is the fastest way to spot timing issues between overlapping actions without running a full playback. |
4. Tracks Area
It is the main canvas of the Timeline. Each action in your interaction appears as a horizontal coloured bar on its own track row.
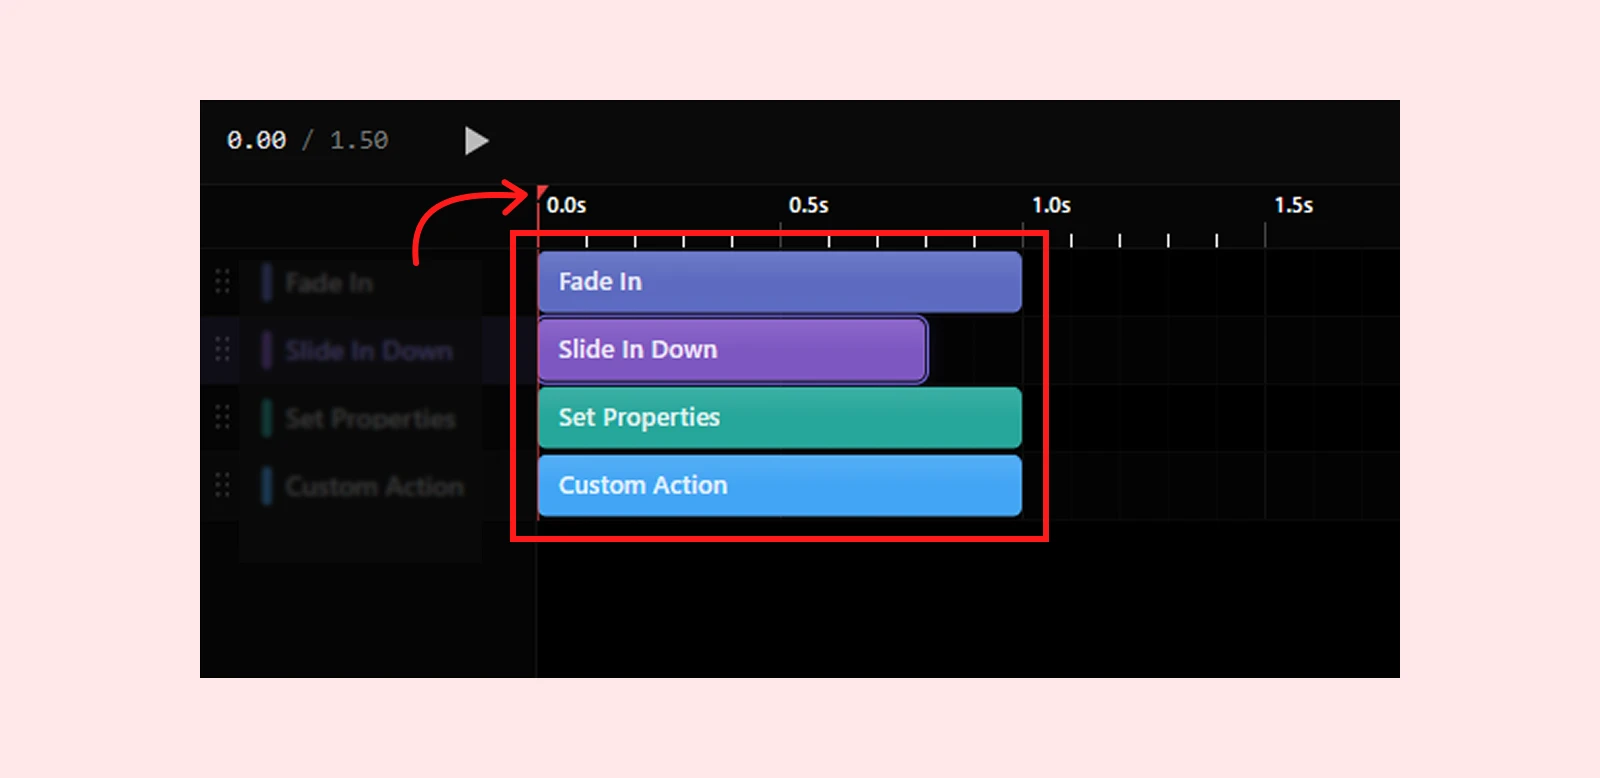
- Bar position (left-to-right) — represents the action’s start time
- Bar width — represents the action’s duration
- Grid lines appear every 0.1 seconds to help align actions visually
- Red vertical playhead line shows the current time position during playback or scrubbing
| Example: An action bar starting at the 0.5s mark and ending at the 1.5s mark has a start time of 0.5s and a duration of 1.0s. Moving it to the right shifts when it starts; dragging its right edge changes how long it runs. |
Editing Timeline Actions
You can modify animations directly from the timeline using intuitive drag-and-drop controls.
Selecting an Action
Click any action bar in the tracks area to select it. The selected bar highlights with a purple outline, and the corresponding row in the left sidebar is also highlighted.
Moving an Action
To change when an action starts, click and hold the centre of an action bar, then drag it left or right. The bar’s left edge snaps to the new start time as you drag.
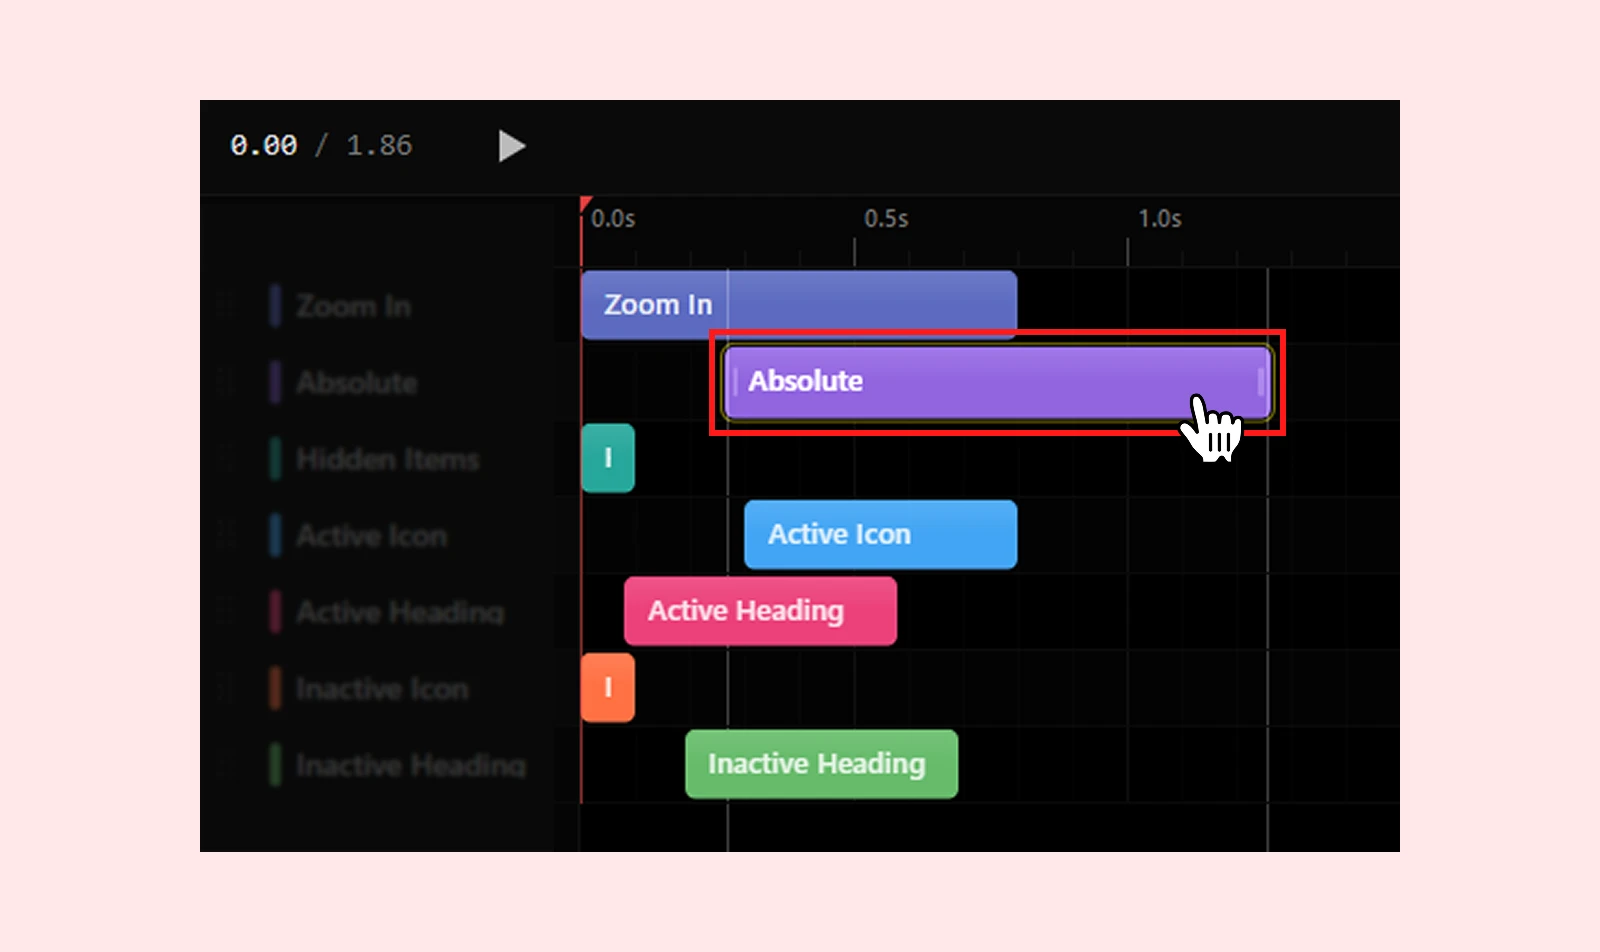
- Drag left to make the action start earlier.
- Drag right to make the action start later.
- The minimum start time is 0 seconds — actions cannot start before the timeline begins.
| Pro tip: To create a simultaneous animation where two actions play at exactly the same time, drag both bars to the same horizontal start position. Overlapping bars run in parallel, not sequentially. |
Resizing an Action (Change Duration)
To change an action’s duration, hover over either edge of the action bar until the resize handle (two vertical bars) appears, then drag.
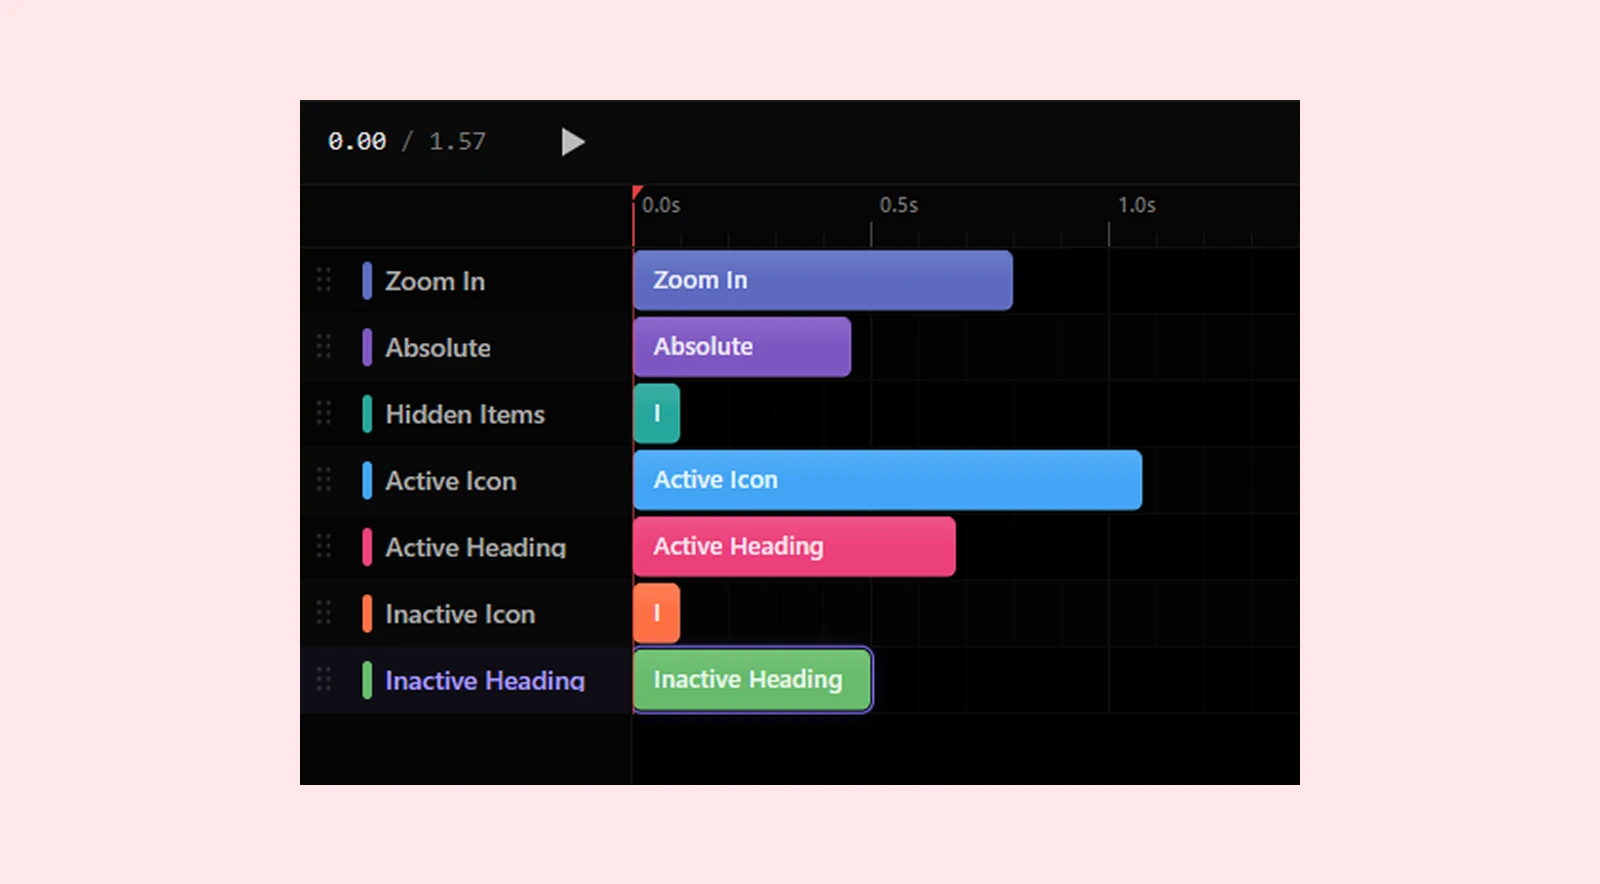
- Left edge: Adjusts the start time while keeping the end time fixed. Dragging left makes the action start earlier and last longer; dragging right starts it later and shortens it.
- Right edge: Adjusts the duration (end time) directly. Dragging right makes it longer; dragging left makes it shorter.
- The minimum duration is 0.1 seconds. Actions cannot be resized below this threshold.
| Note: Vertical indicator lines appear across all tracks while you resize, making it easy to align the start or end of one action precisely with another. |
Renaming an Action
Double-click the action name in the left sidebar to enter inline rename mode. An editable text field replaces the name.
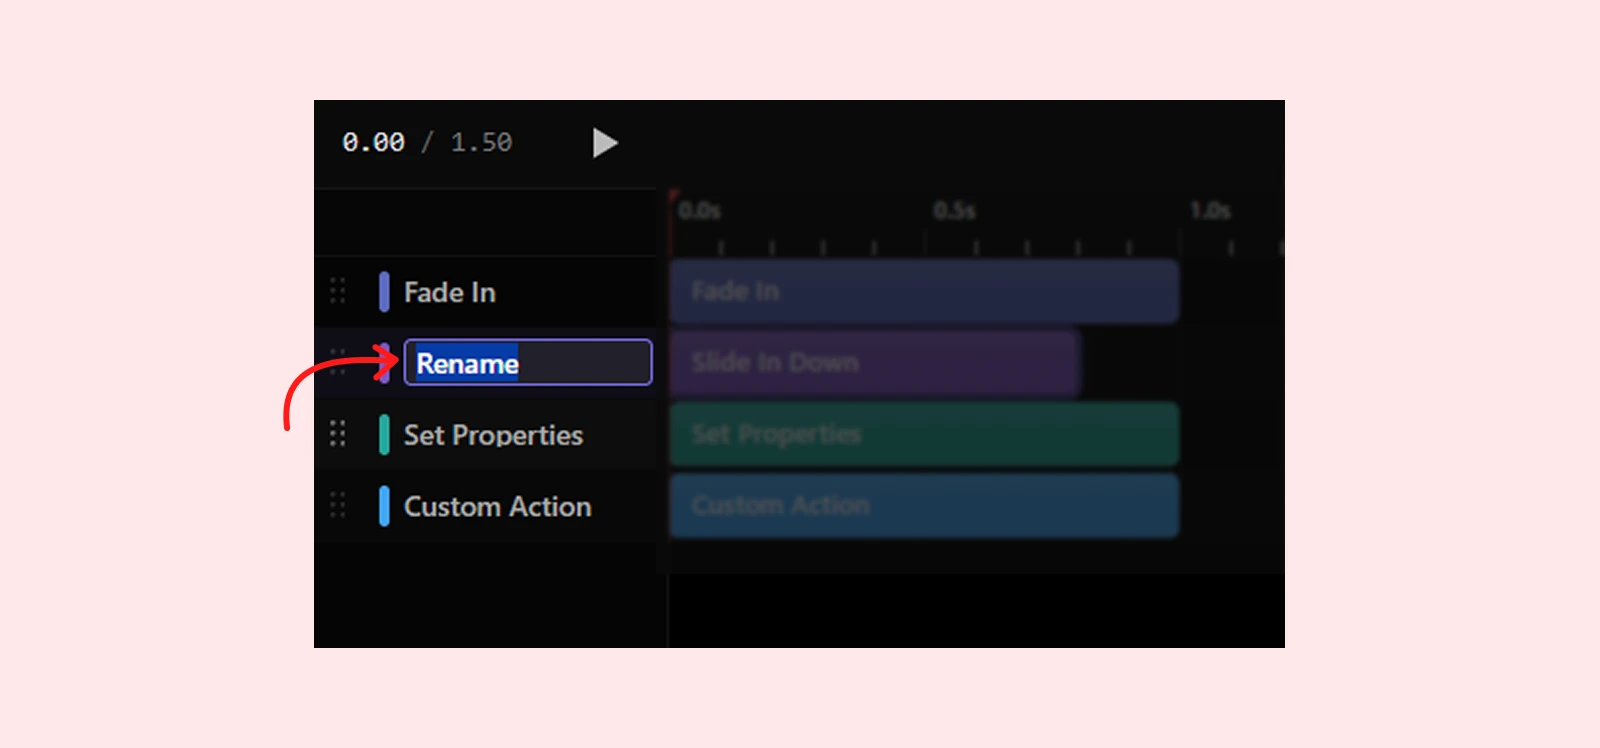
- Press Enter or click elsewhere to save the new name.
- Press Escape to cancel and keep the original name.
Reordering Actions
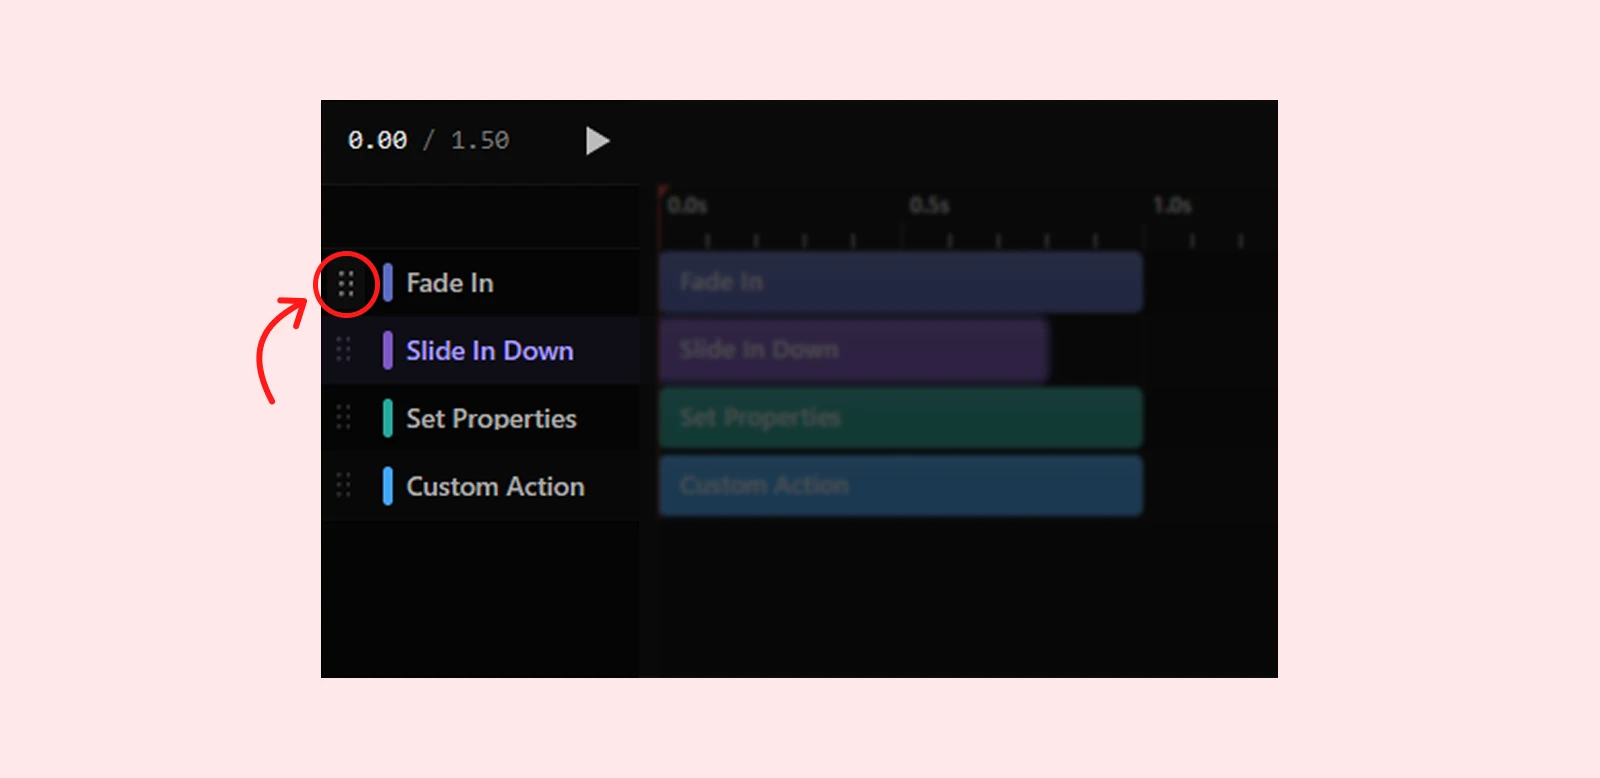
Click and hold the drag handle (six-dot icon) on any sidebar row, then drag it up or down to change the action’s position in the list. Reordering in the sidebar changes the visual track order in the tracks area but does not affect timing.
| Pro tip: Keep your most important or first-playing actions at the top of the sidebar list. This makes the timeline easier to scan at a glance, especially when working with five or more actions. |
Right-Click Context Menu
Right-click on any action bar or on empty track space to open the context menu. When triggered on empty space, a new action is inserted at the exact time position of the click.
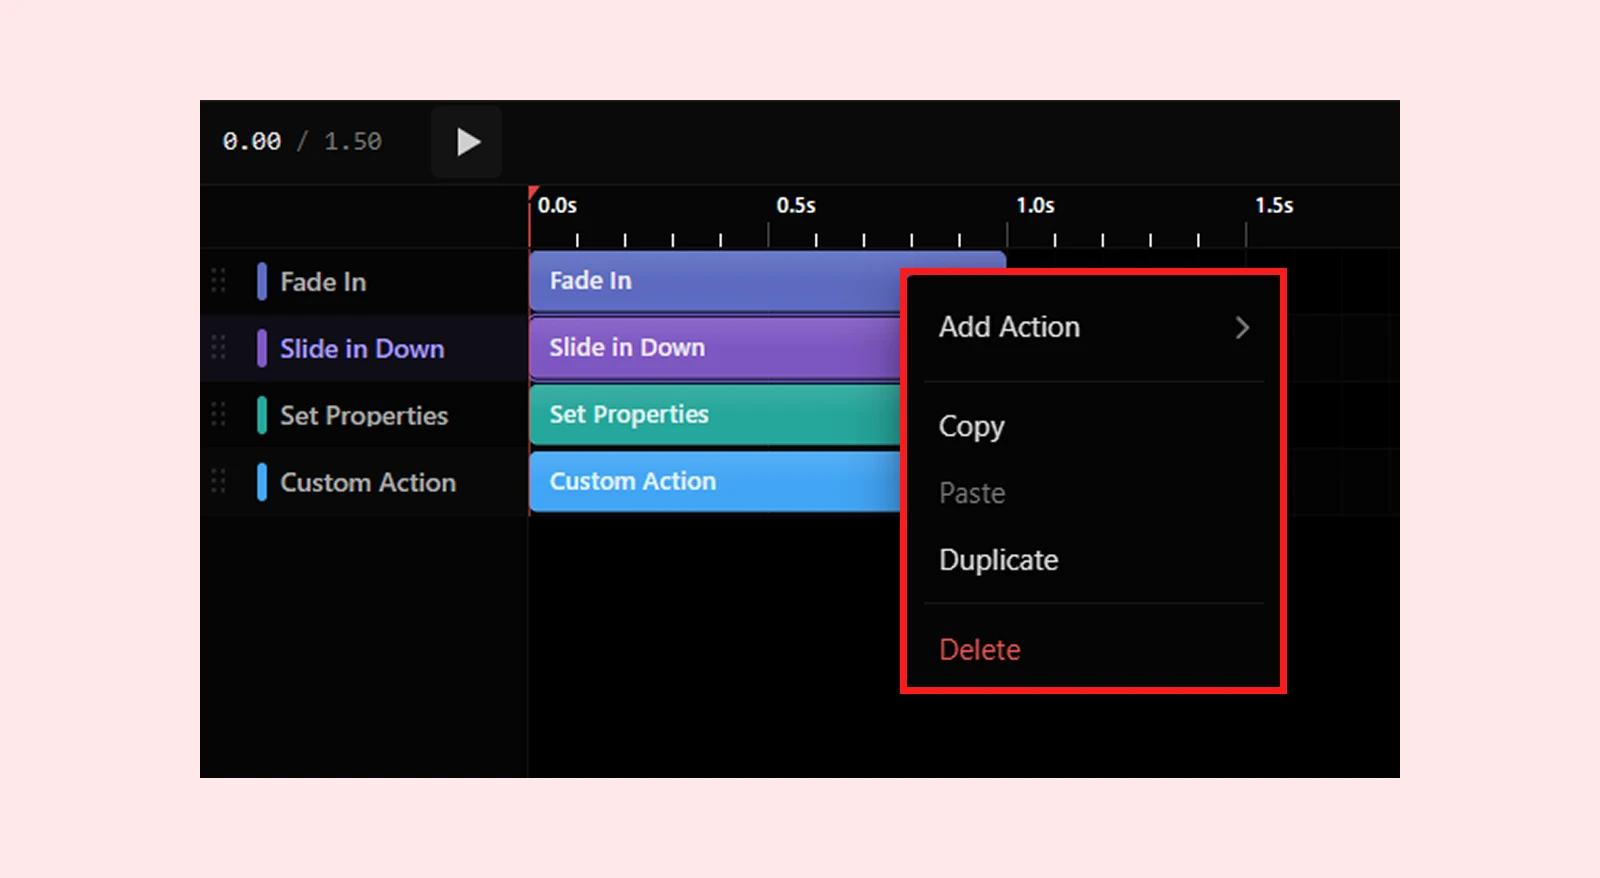
| Option | What It Does |
| Add Action | Inserts a new action at the time position where you right-clicked. Choose from Presets (Fade In, Slide In, Scale In, etc.) or Custom |
| Copy | Copies the selected action, including all its settings and property values |
| Paste | Pastes a previously copied action at the current playhead position |
| Duplicate | Creates an exact copy of the action immediately after the original |
| Delete | Removes the action from the timeline permanently |
| Pro tip: Right-clicking on empty track space is the fastest way to insert a new action at a precise time. Position your cursor at the exact second you want the action to start before right-clicking. |
Playback Controls
The timeline includes real-time playback tools so you can preview your animation before publishing:
Play and Pause
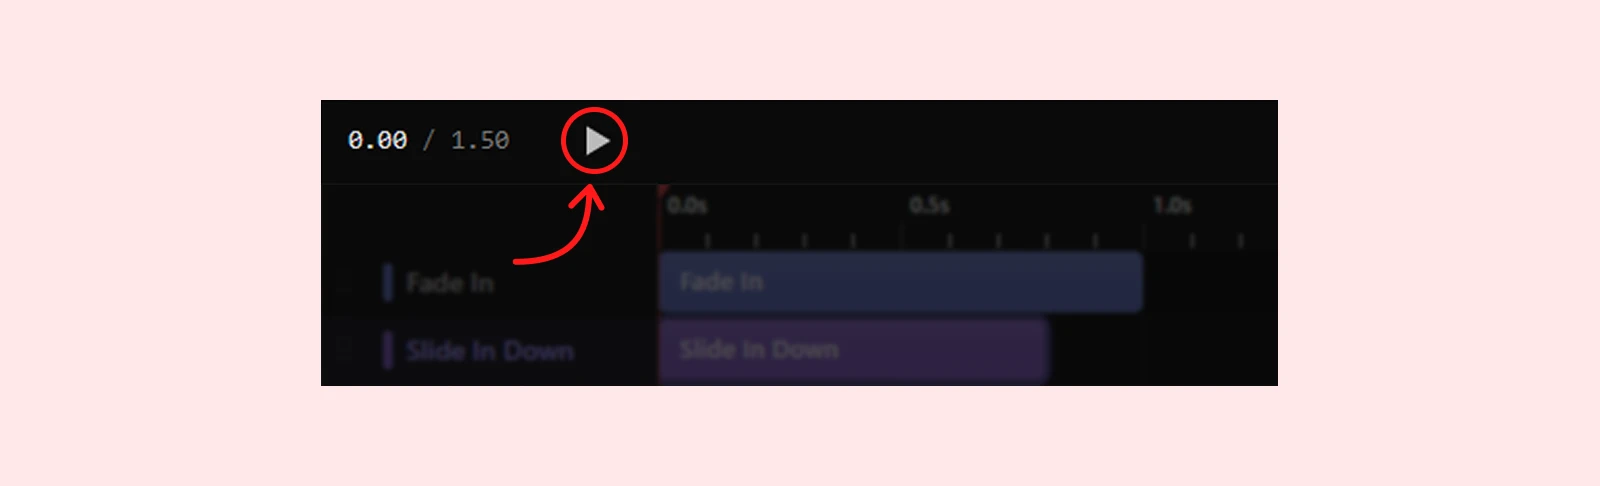
Click the Play button in the header bar to preview the full animation sequence in real time. The button switches to Pause during playback. Playback stops automatically when the animation reaches its end.
Scrubbing
Click and drag on the ruler to manually move through the animation at any speed. Playback pauses automatically while scrubbing. Release the mouse to stop at that time, then press Play to continue from that position.
| Pro tip: Use scrubbing instead of Play when you want to inspect a specific moment in a complex sequence — for example, checking that two actions are perfectly aligned at the 1.5s mark without watching the full animation play out. |
Time Display
The header bar shows the current time and total duration in the format current time / total duration.
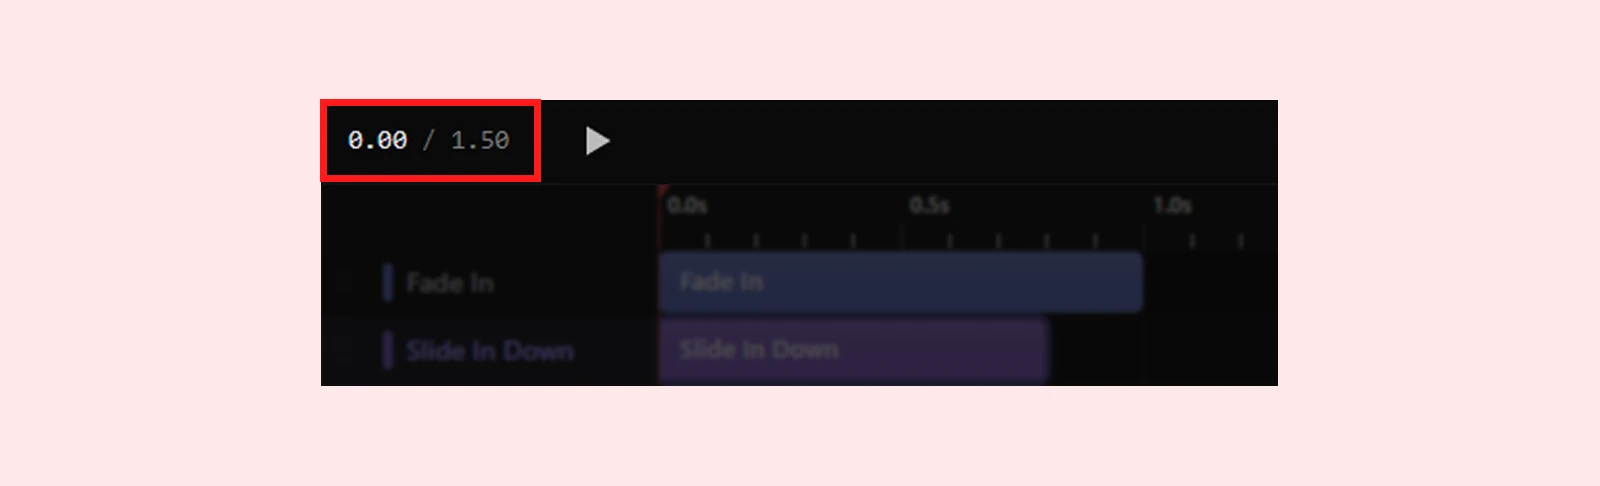
| Example: A display reading 1.25 / 3.00 means the playhead is at 1.25 seconds in a 3-second animation. The total duration updates automatically as you add or extend actions. |
Resizing the Timeline Panel
Drag the resize handle at the very top edge of the timeline panel to adjust its height. The panel can be resized between 120px (minimum) and 600px (maximum).
Your preferred height is saved automatically and restored the next time you open the builder.
| Pro tip: Increase the panel height when working with many actions on separate tracks — more height means more visible rows without scrolling. Reduce it when working on a single short animation to reclaim canvas space. |
Timeline Preferences & Behavior
The Timeline remembers your working preferences across builder sessions. These settings are stored in your browser and restored automatically when you return.
| Preference | Default | What It Controls |
| Open / Close state | Open | Whether the timeline auto-opens when you expand an interaction in the builder |
| Collapsed state | Expanded | Whether the panel is minimised to header-only or fully expanded |
| Panel height | 200px | The panel’s resized height. Remembered across reloads within the range of 120px to 600px |
| Note: Preferences are stored in your browser’s local storage and are specific to the device and browser you’re using. They will not carry over if you switch to a different browser or clear your browser data. |
Empty State
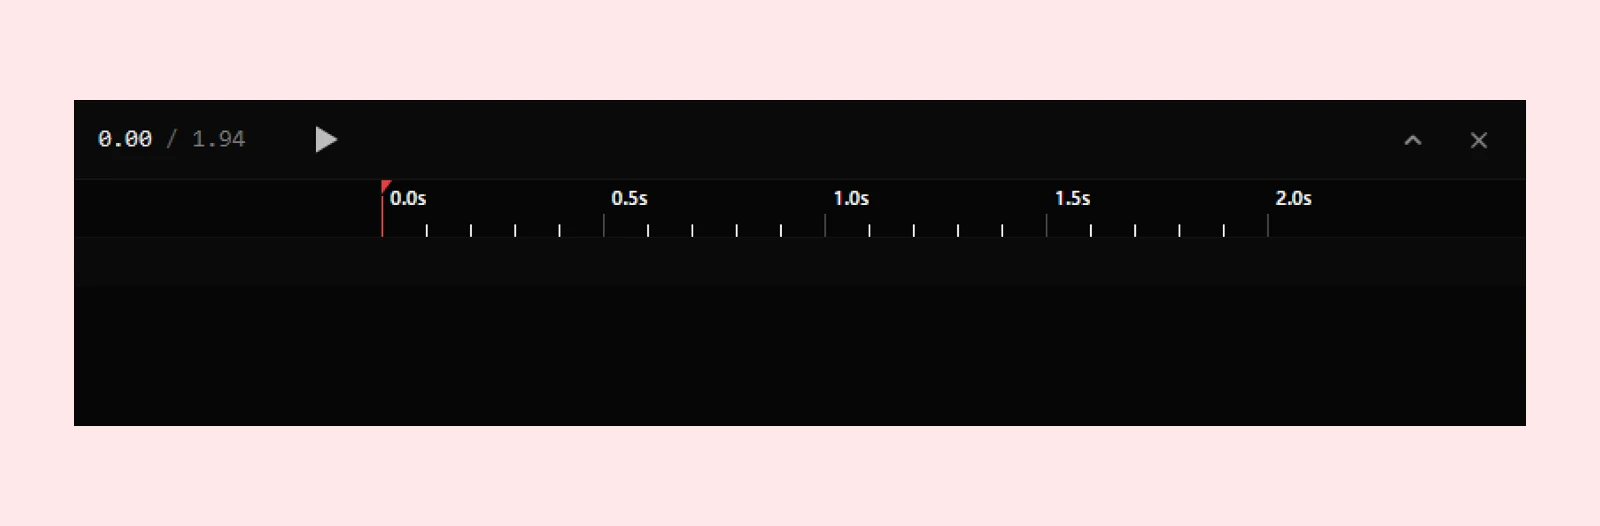
When no interaction is selected, the Timeline displays: “No interaction selected — Select a module and interaction to view its timeline.”
To populate the Timeline, click any module, section, row, or column in the Visual Builder and expand one of its interactions in the DiviMotion panel. The Timeline will load that interaction’s actions immediately.
Keyboard Shortcuts
| Shortcut | Action |
| Enter | Saves the action name when renaming inline in the sidebar |
| Escape | Cancels an active rename or closes an open context menu |
| Double-click header | Toggles the timeline between collapsed (header-only) and expanded view |
What’s Next?
Now that you understand the Animation Timeline, you have a visual workspace for orchestrating multi-step animations with precision — without manually adjusting start time values in individual action settings.
Open the Visual Builder, enable the Timeline from the Extensions tab, and start dragging your next multi-action sequence into shape.


